Getting Started
Once you have install FullStacked, it is now time to create your first project. Let's get it started!
Creating your first project
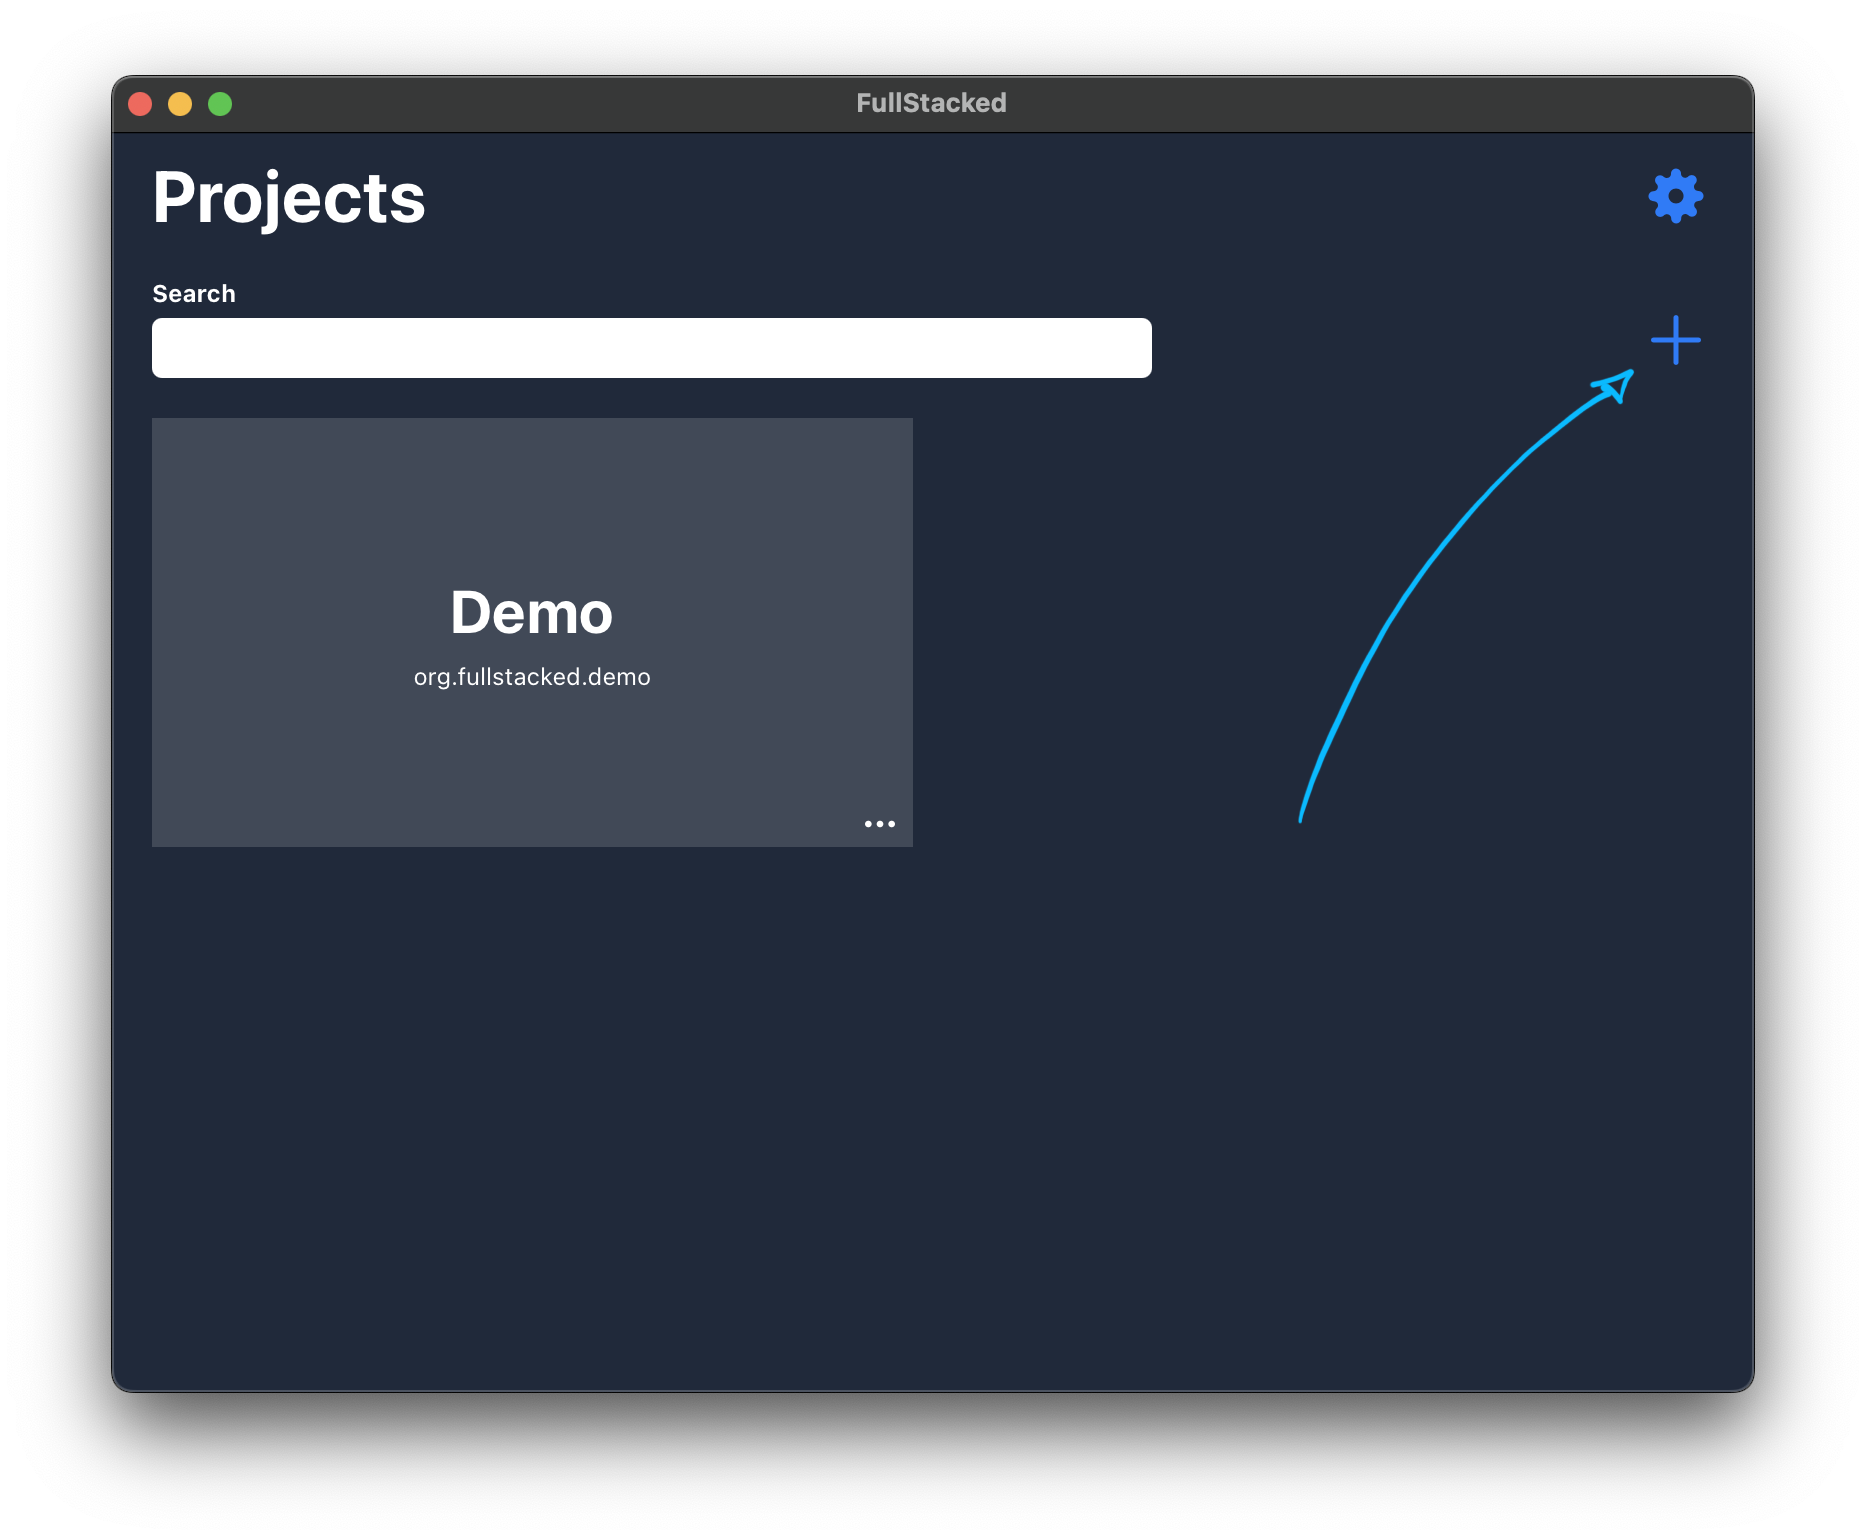
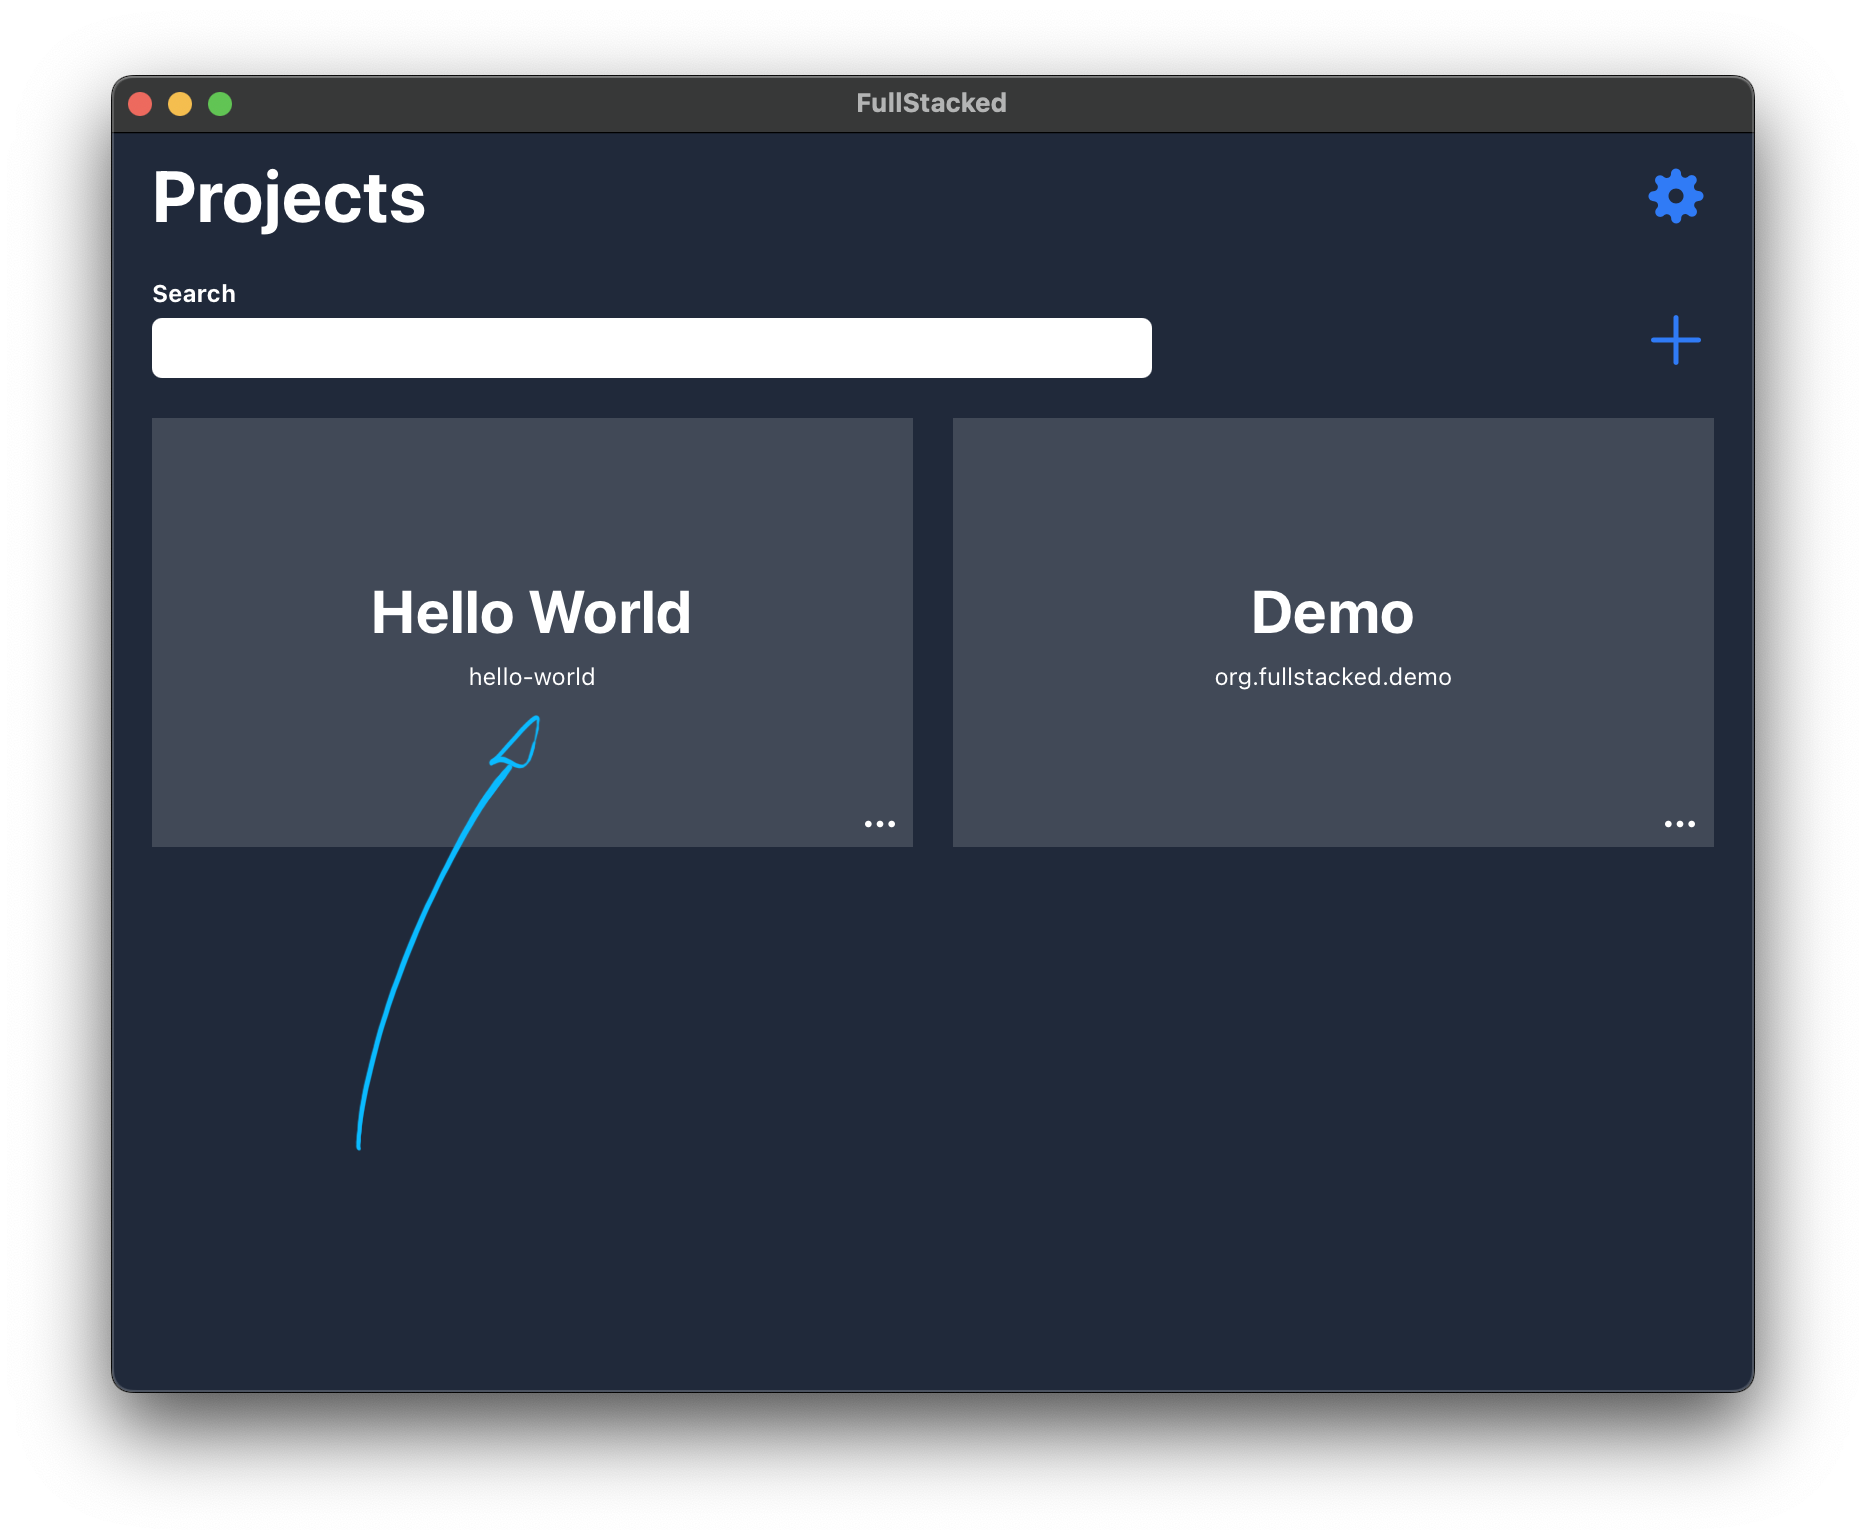
Locate the + icon to create add a new project.
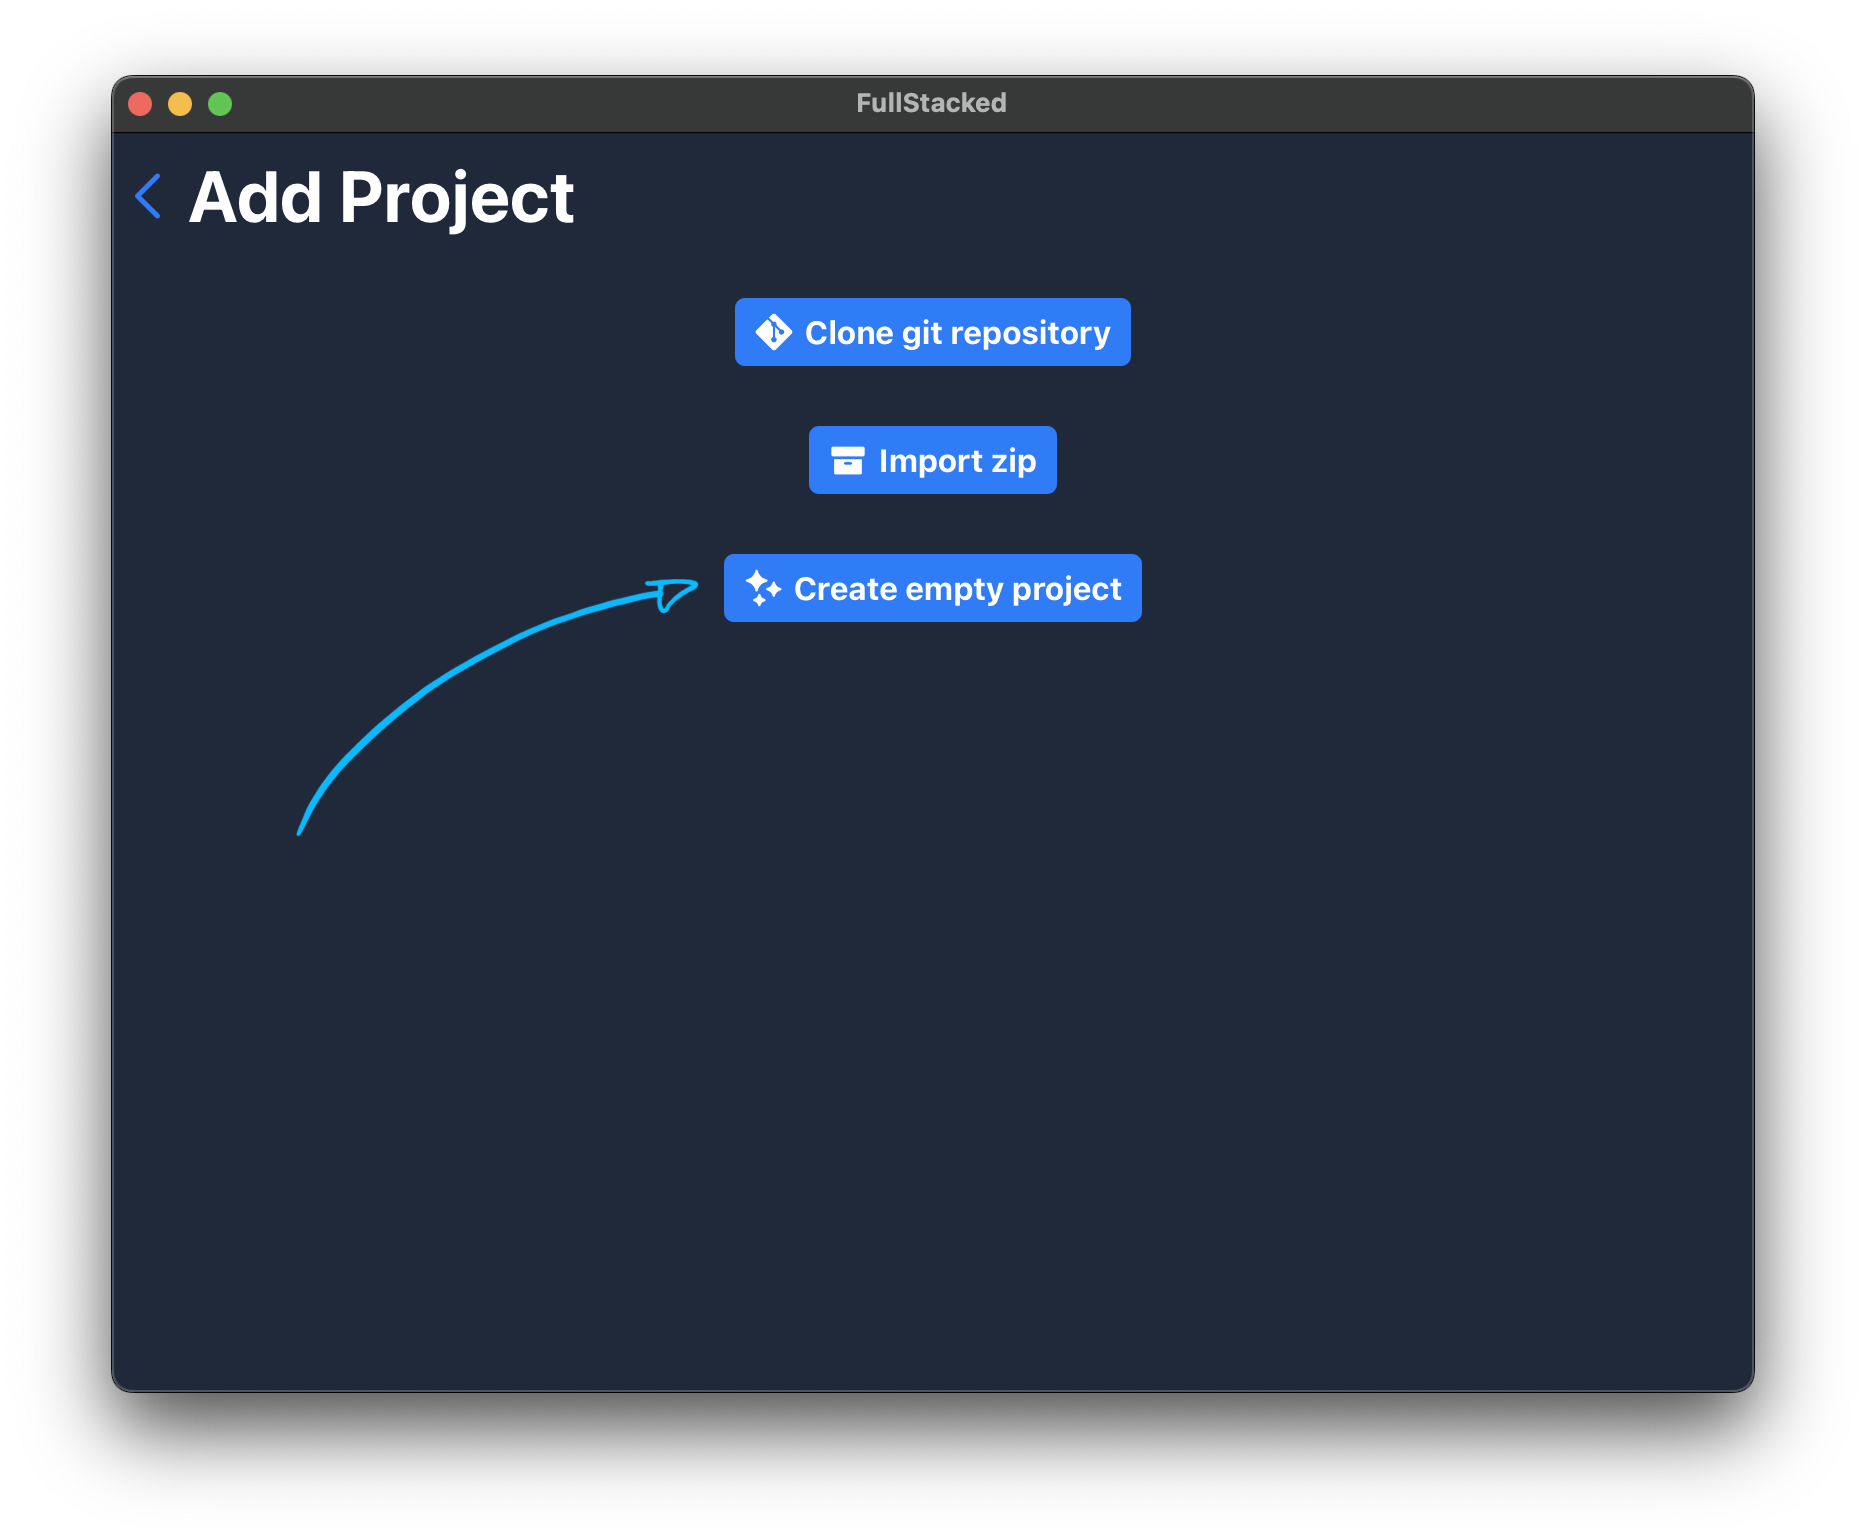
For this first project, select Create empty project.
Add a title, and let the identifier generate itself.
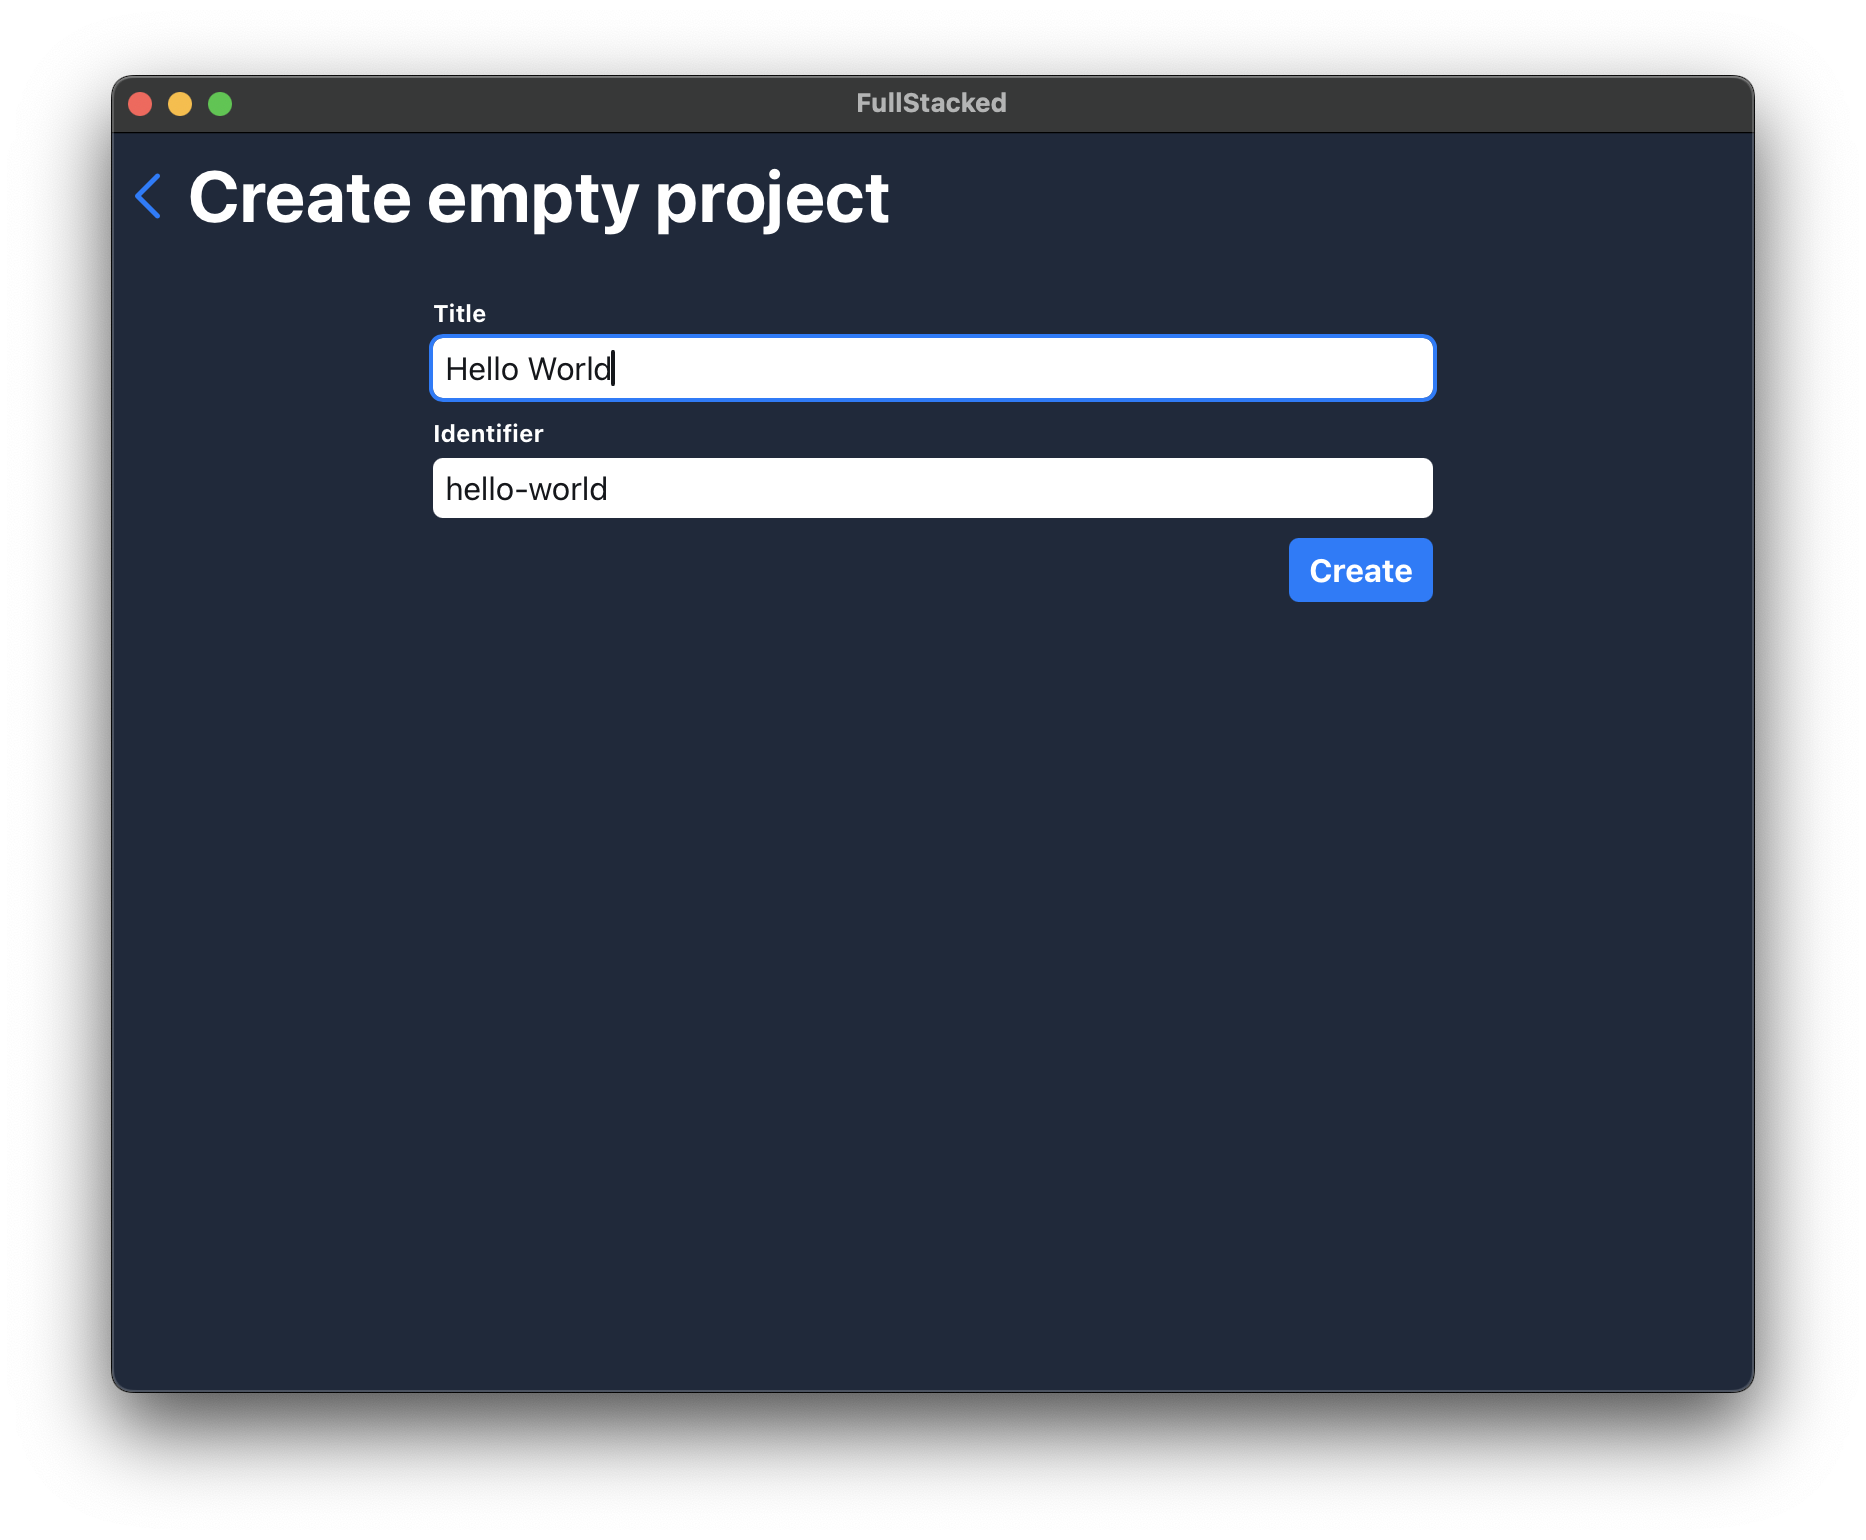
Congratulation! You just created your first FullStacked project. Select it to start editing and running it.
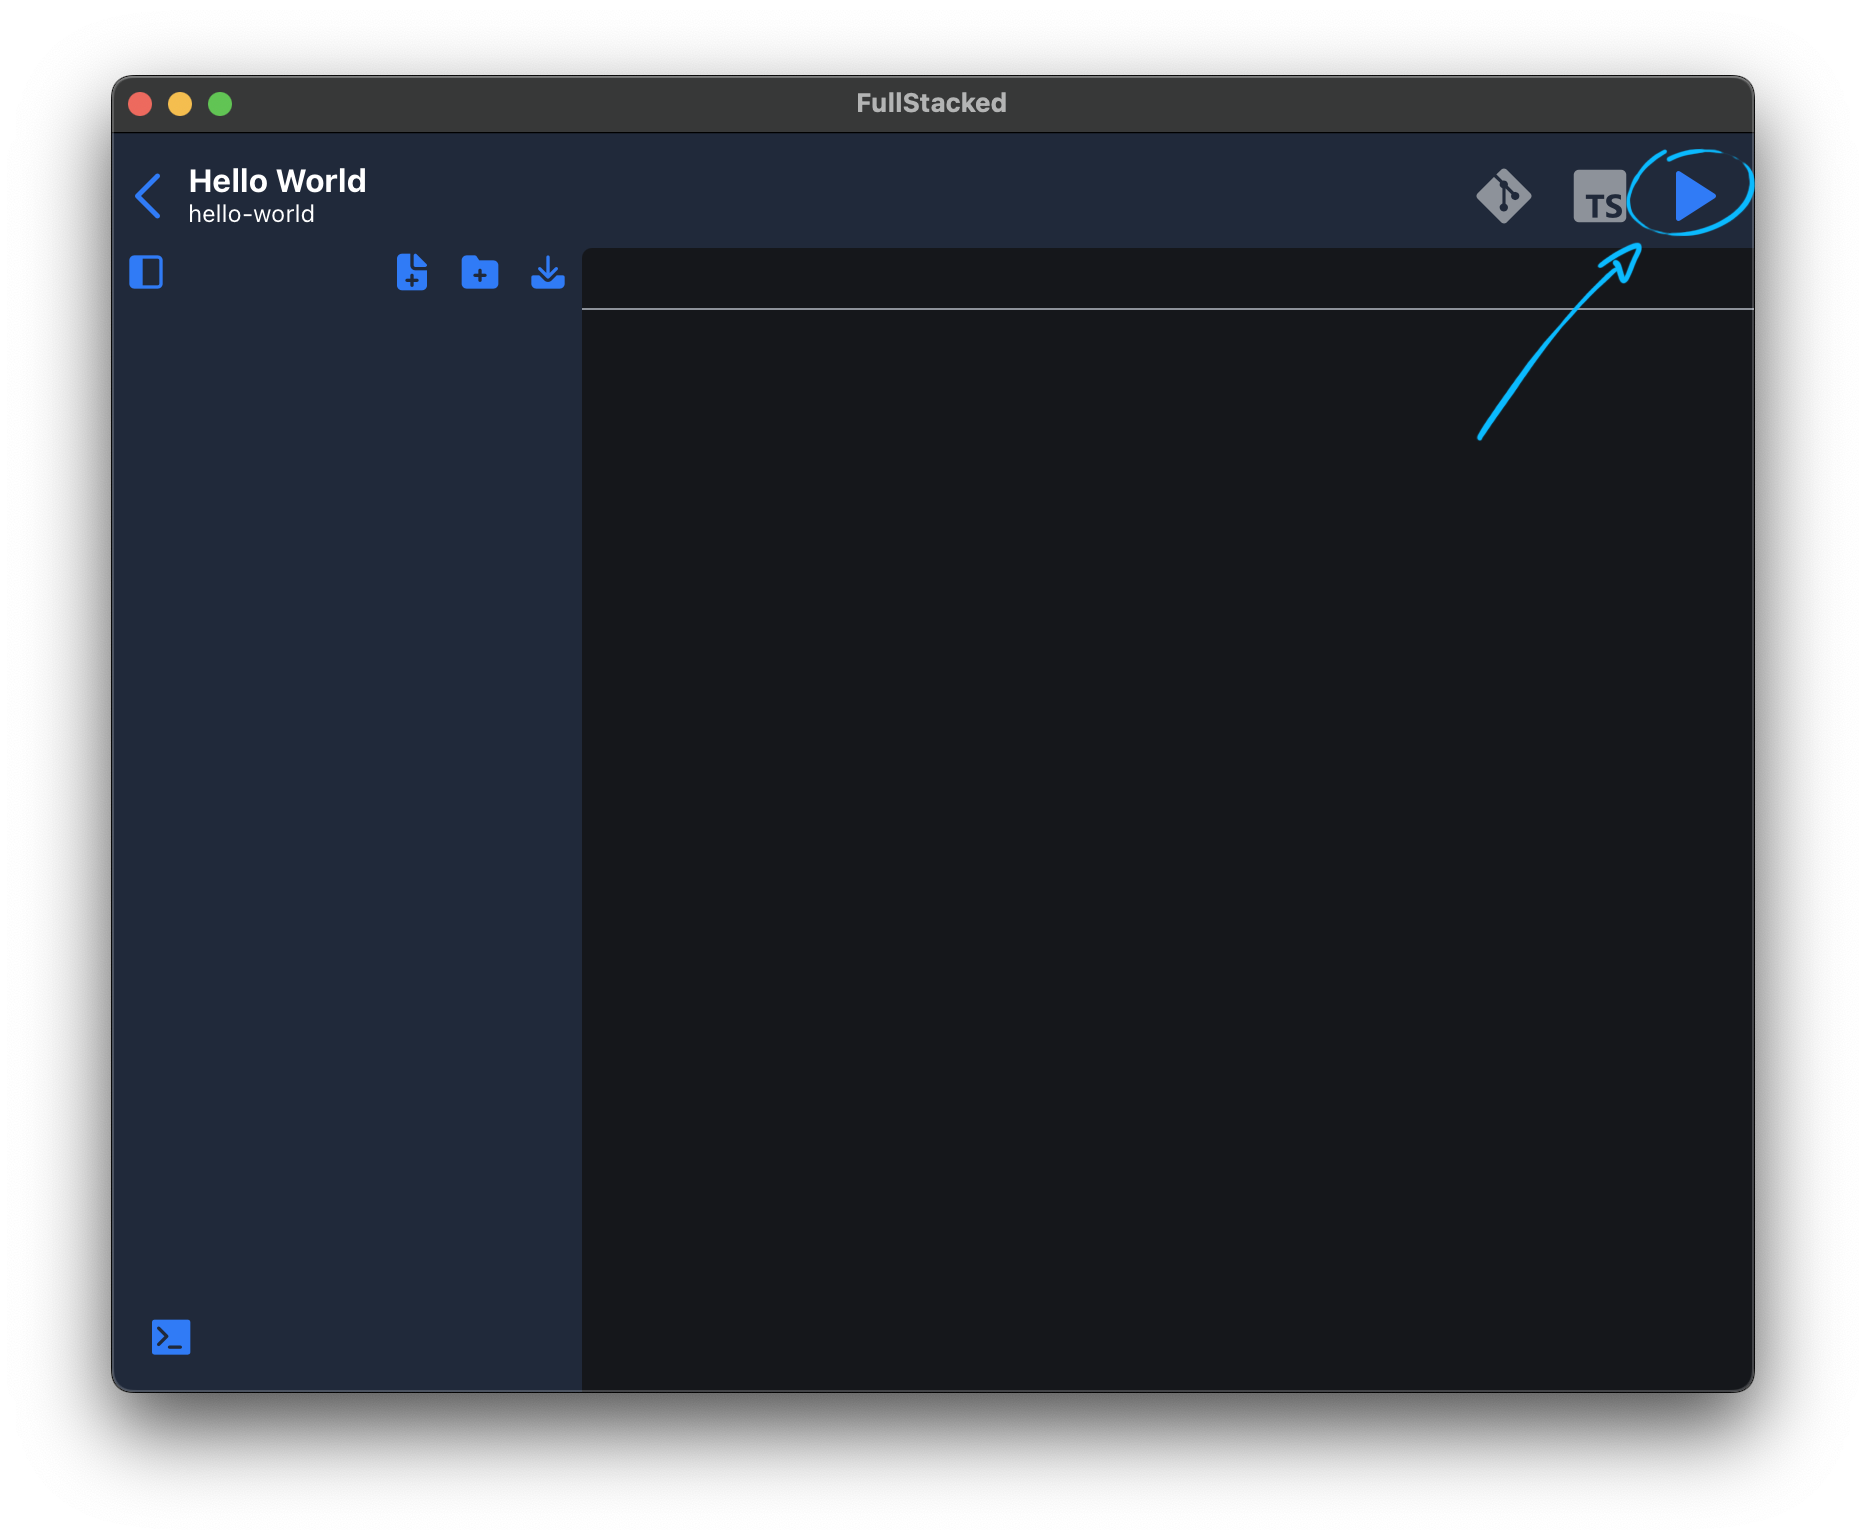
Try the run button to see what happens.
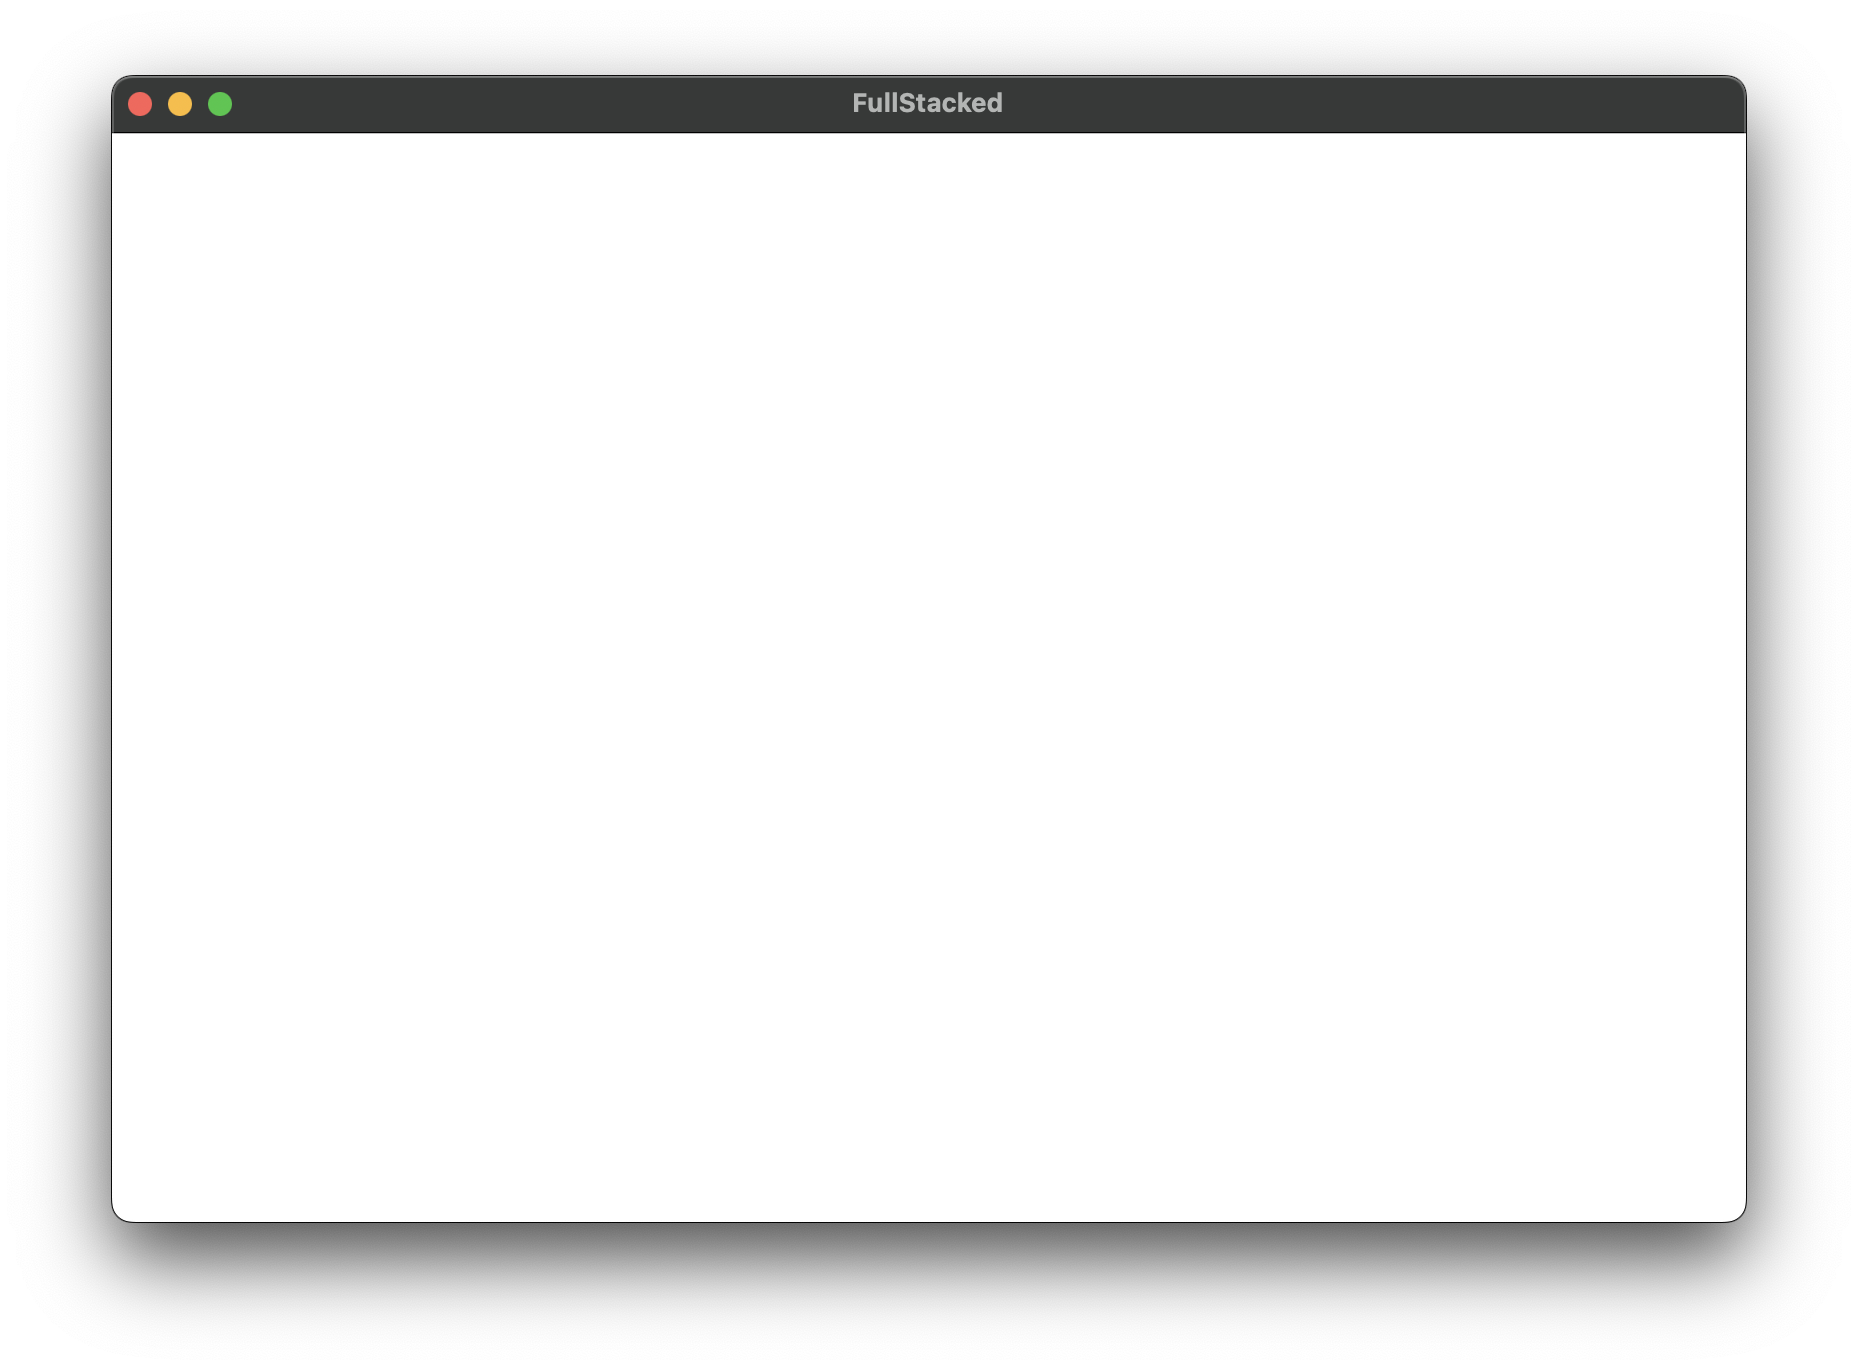
As you can expect, an empty page. Now let's add some stuff in the next section.
Editing the JavaScript entrypoint
Create a new index.js file.
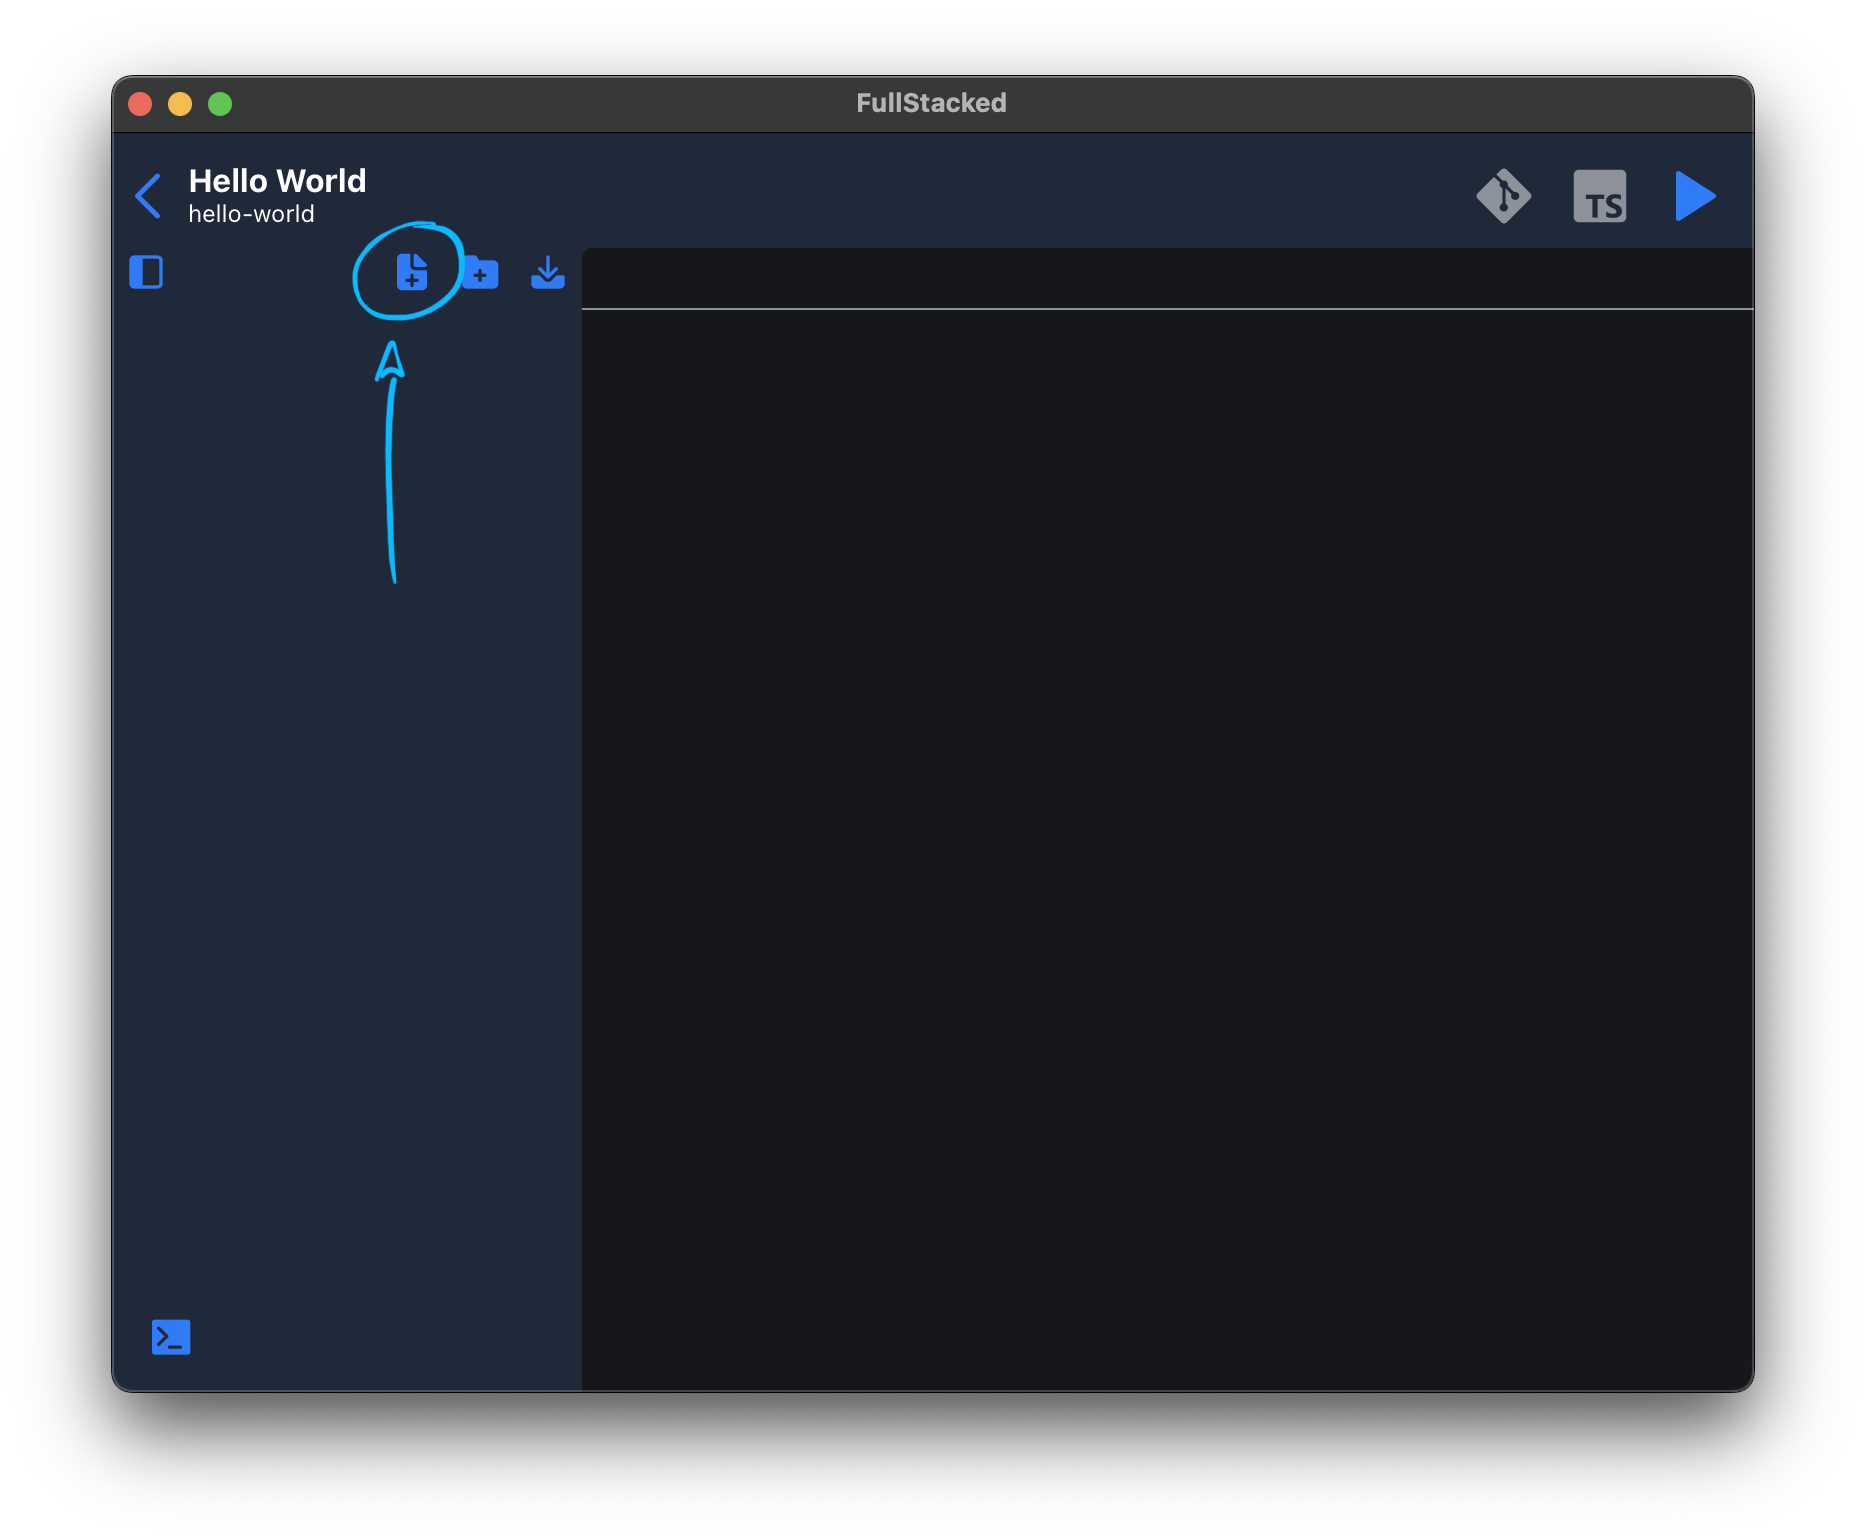
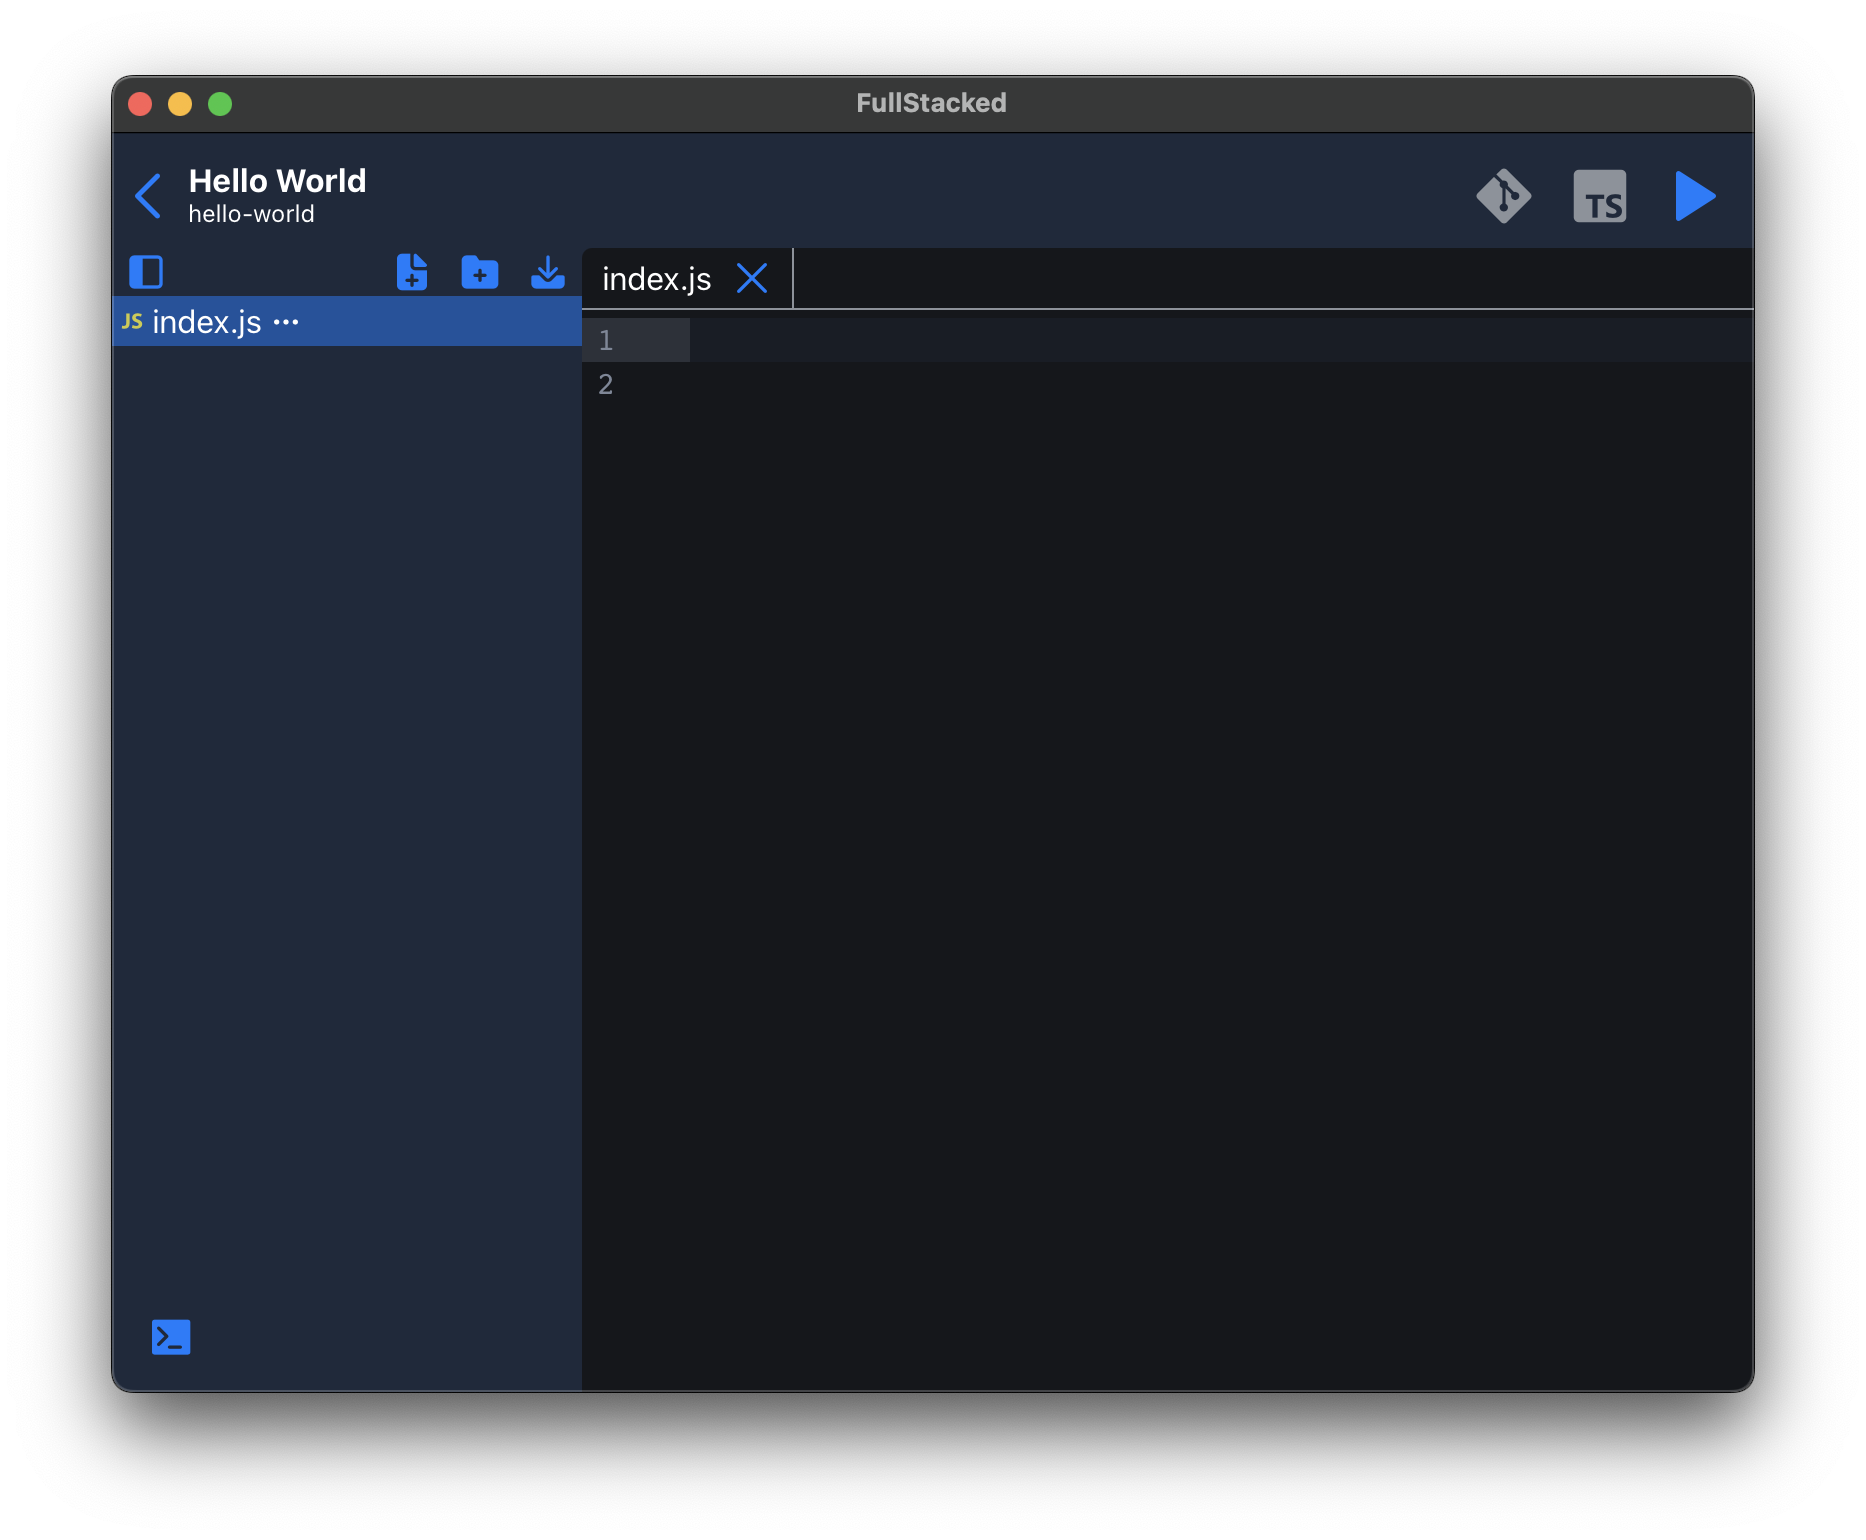
Create an element, add some text and append it to the body. Then re-run your project.
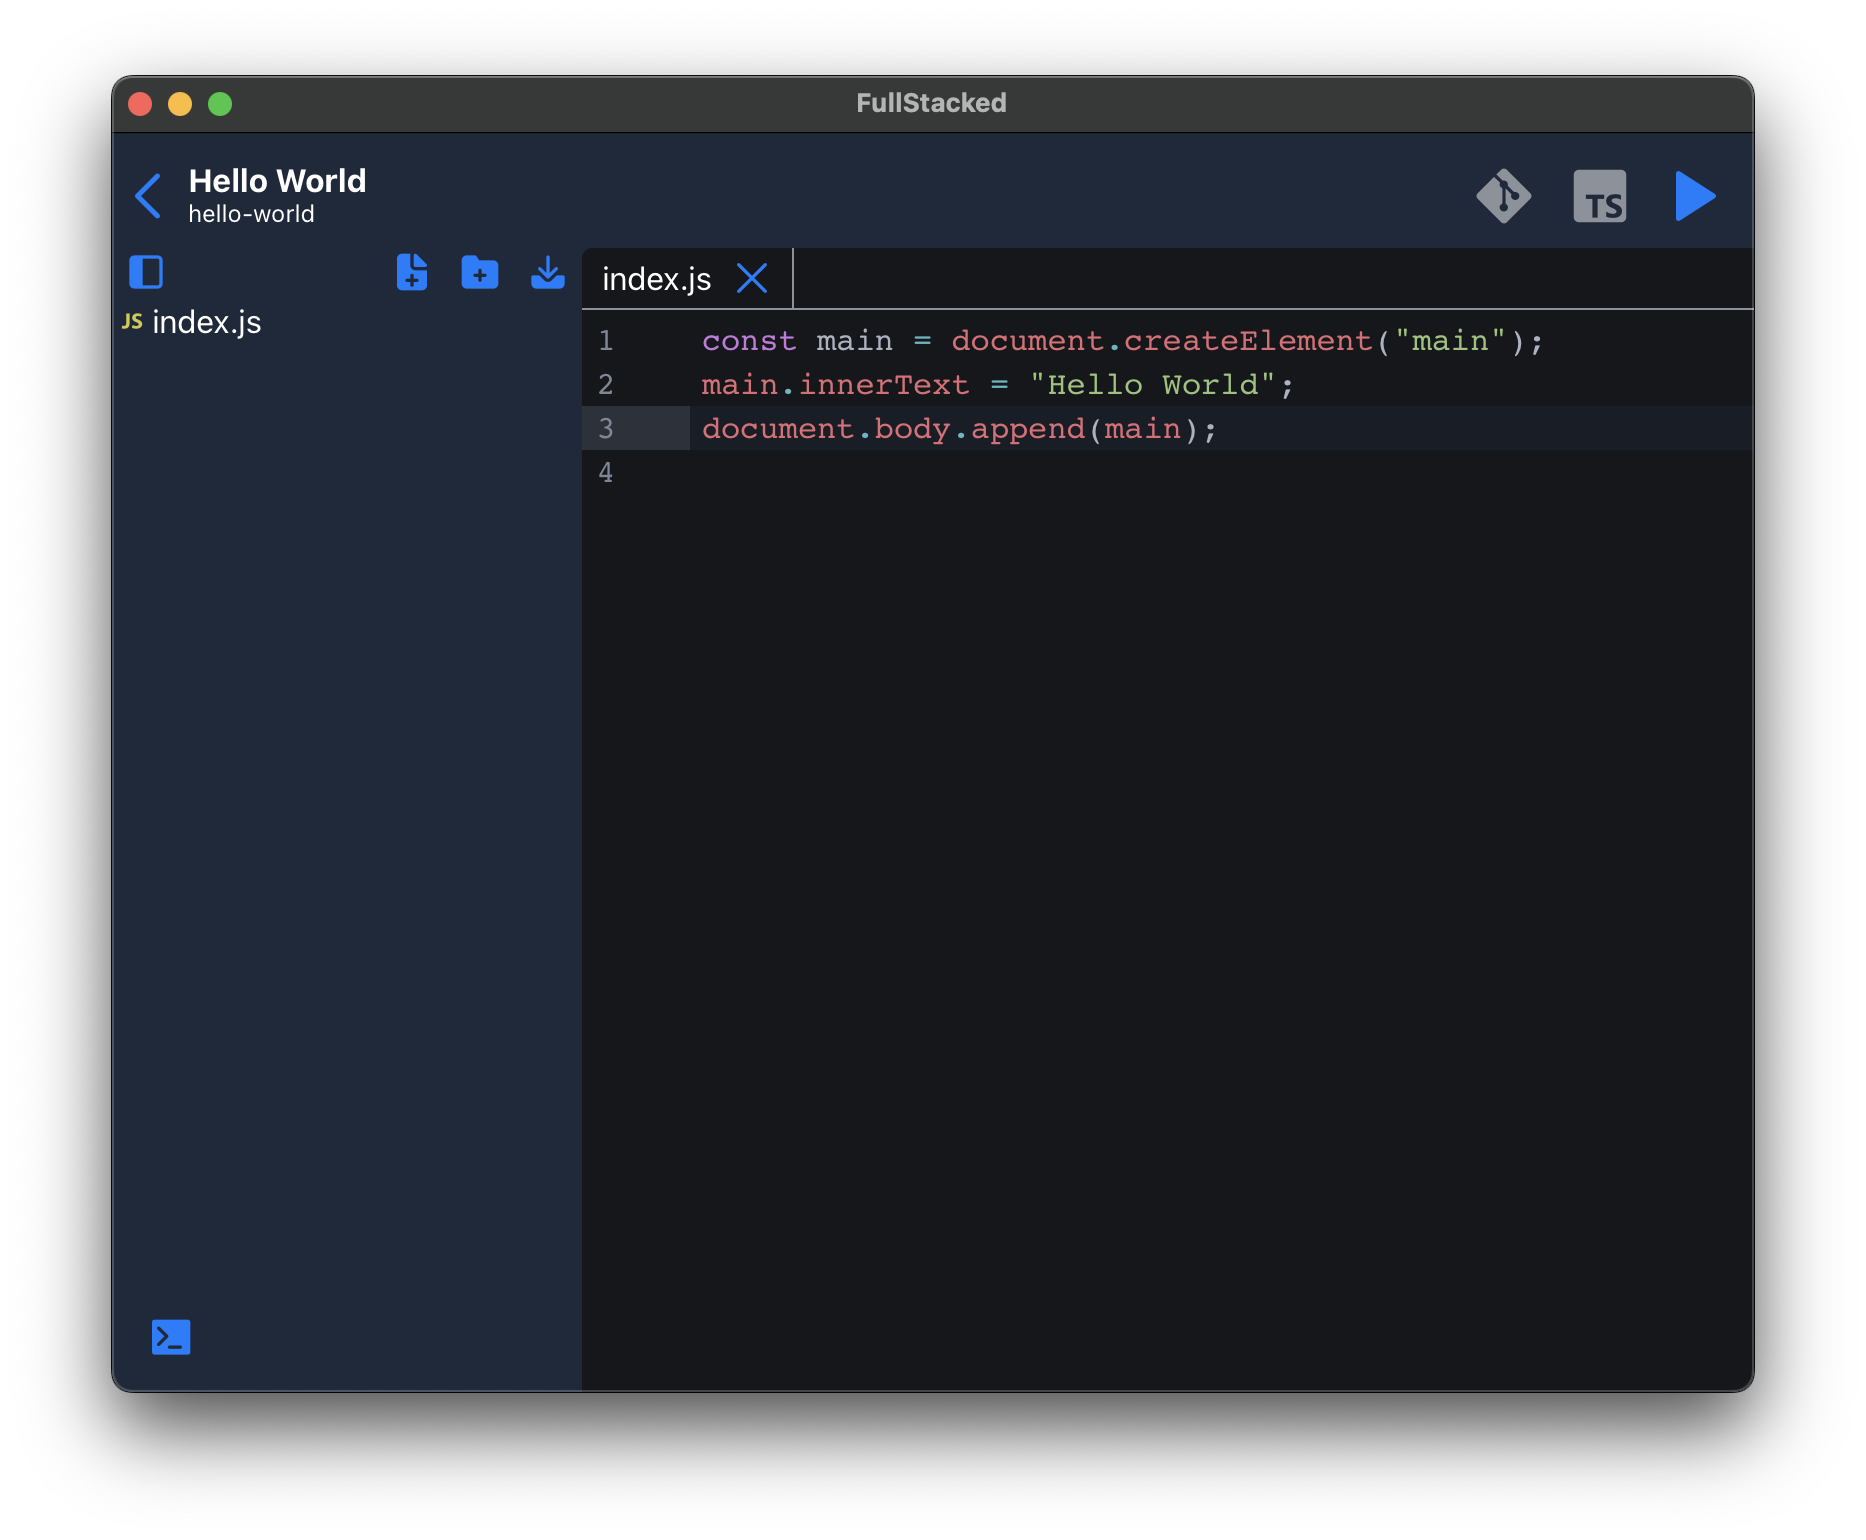
// index.js
const main = document.createElement("main");
main.innerText = "Hello World";
document.body.append(main);
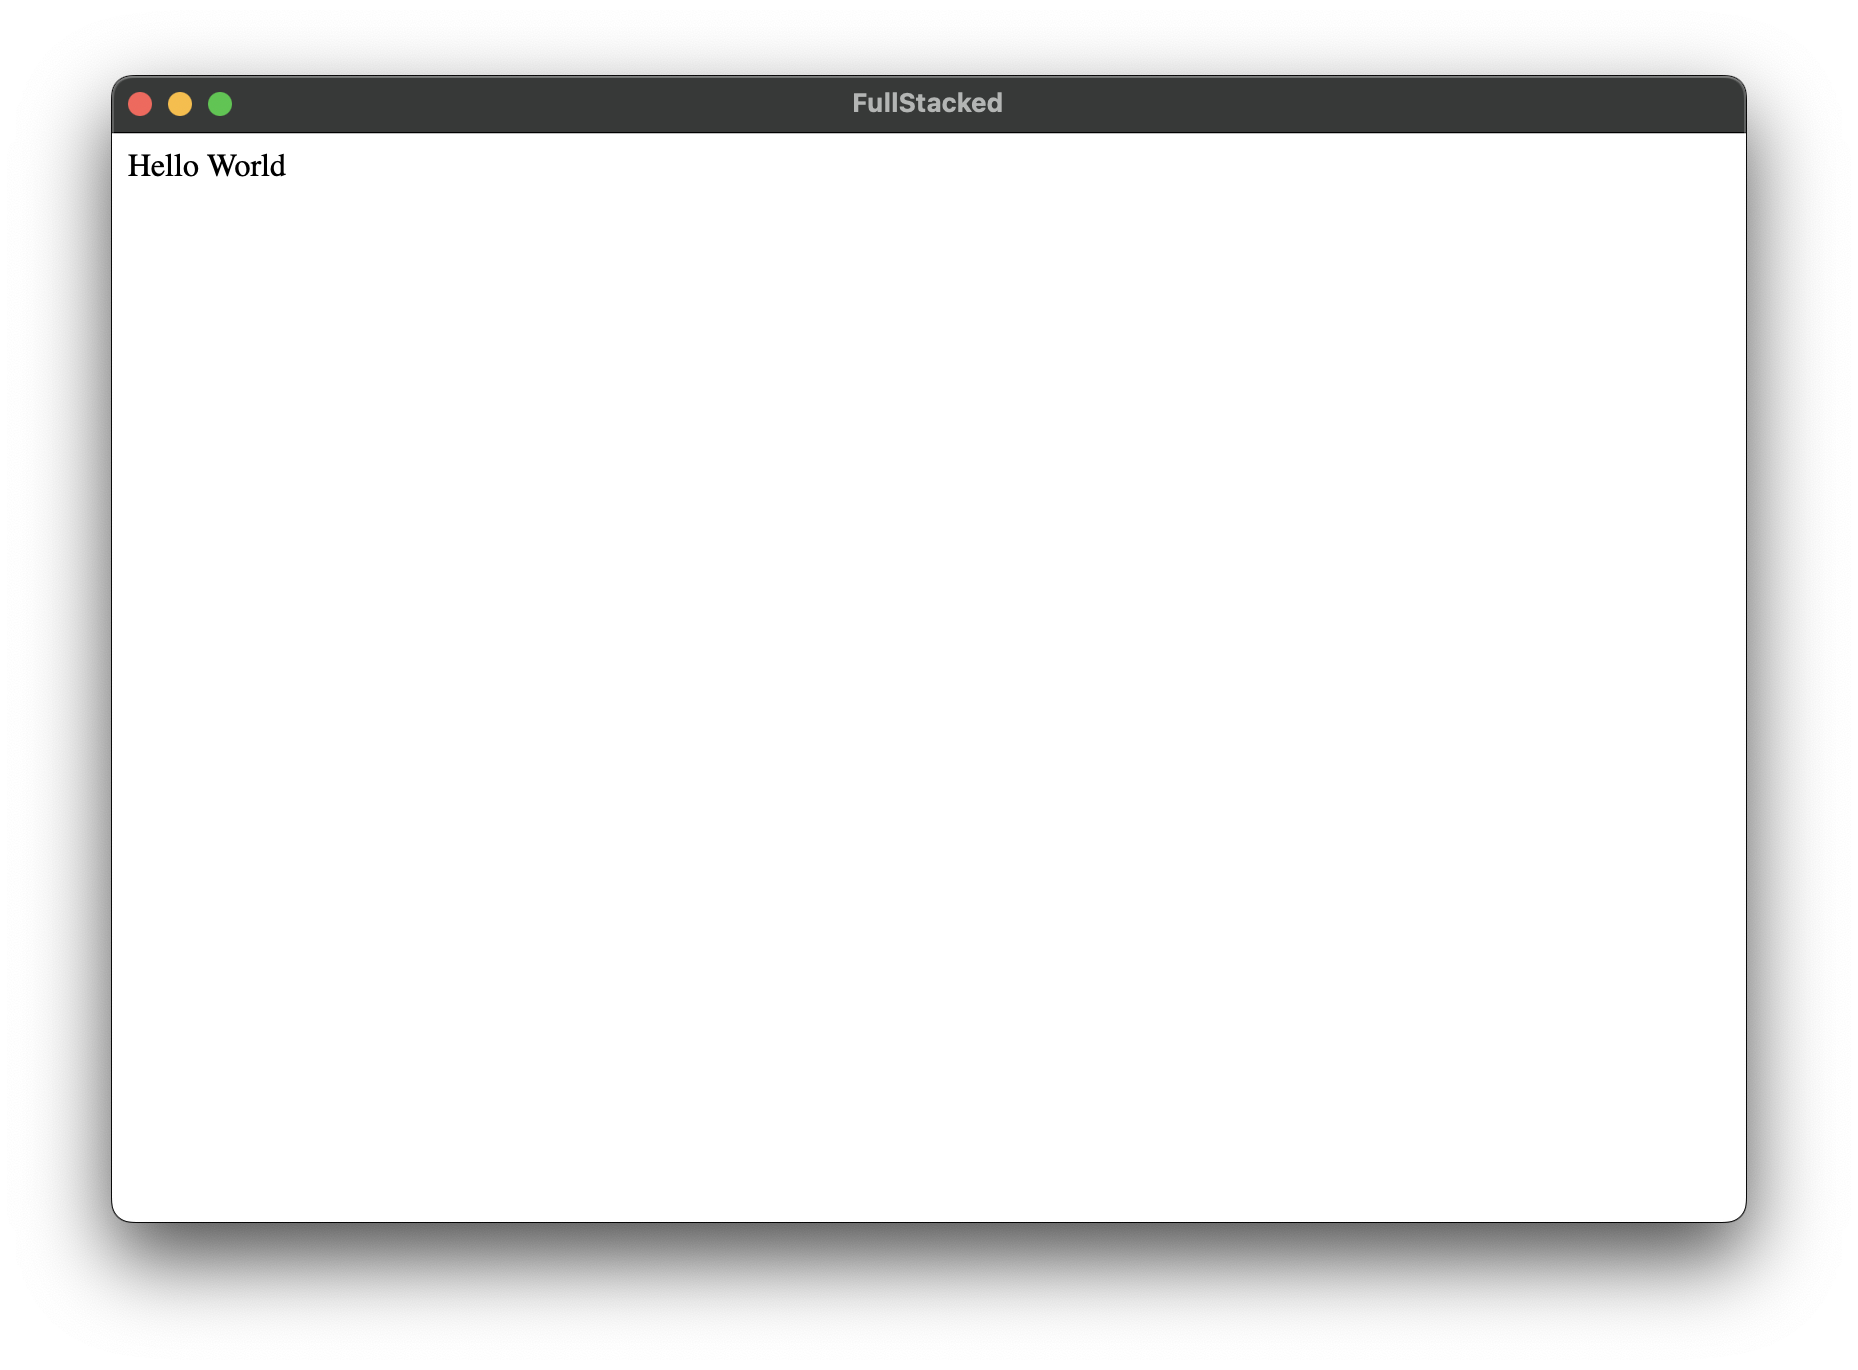
Cool! We got some text displayed. Now let's give it some style in the next section.
Editing the Sass entrypoint
This time, create an index.scss file and add some styling to your elements. Then re-run your project.
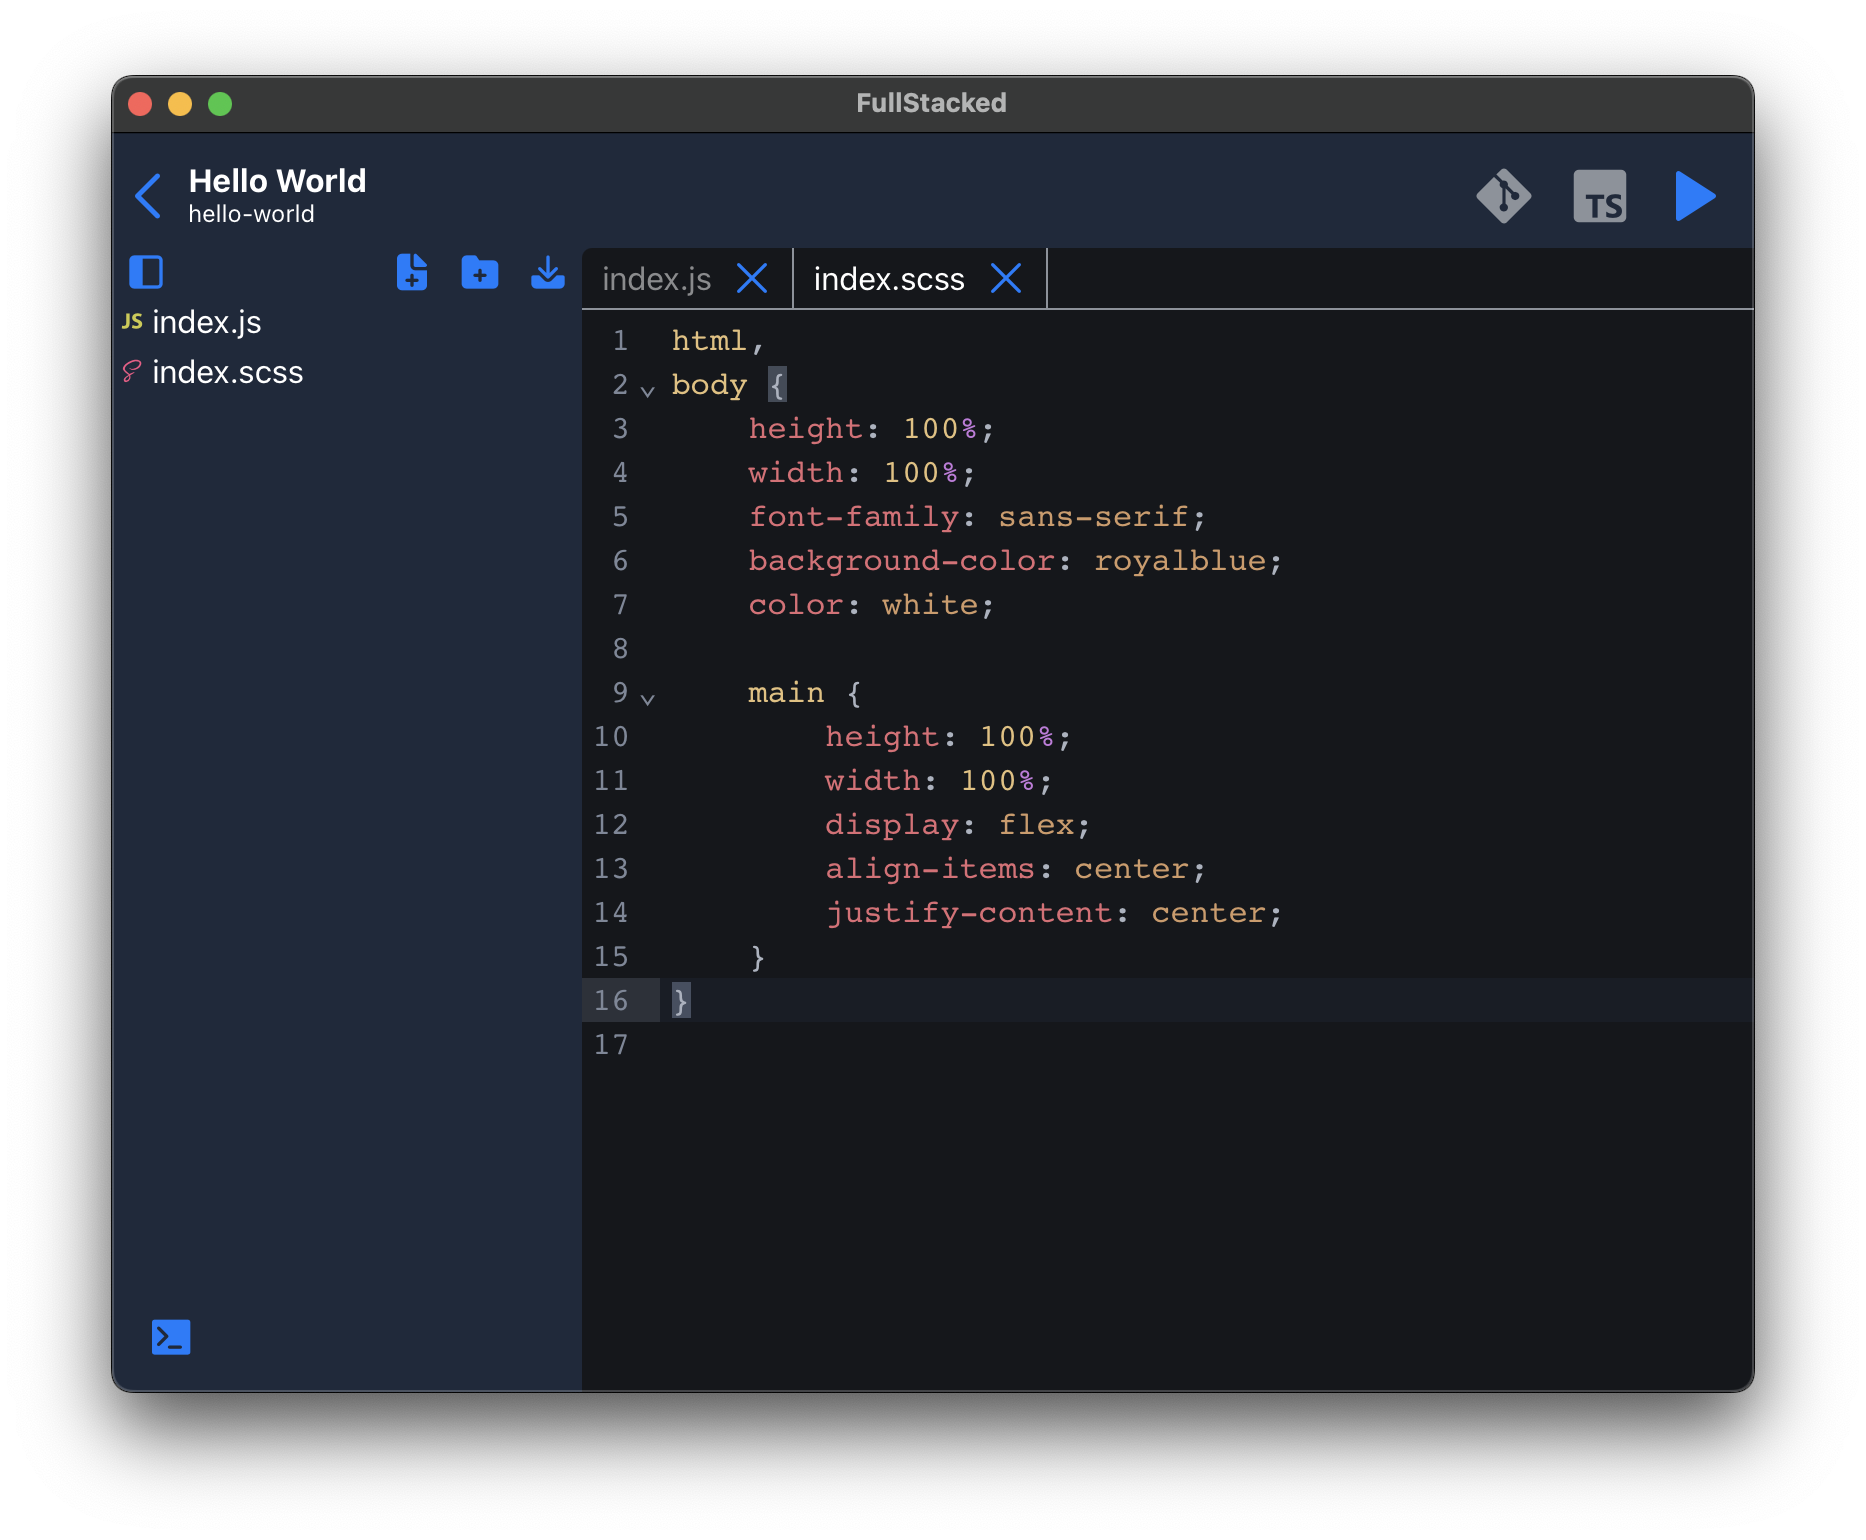
// index.scss
html, body {
  height: 100%;
  width: 100%;
  font-family: sans-serif;
  background-color: royalblue;
  color: white;

  main {
    height: 100%;
    width: 100%;
    display: flex;
    align-items: center;
    justify-content: center;
  }
}
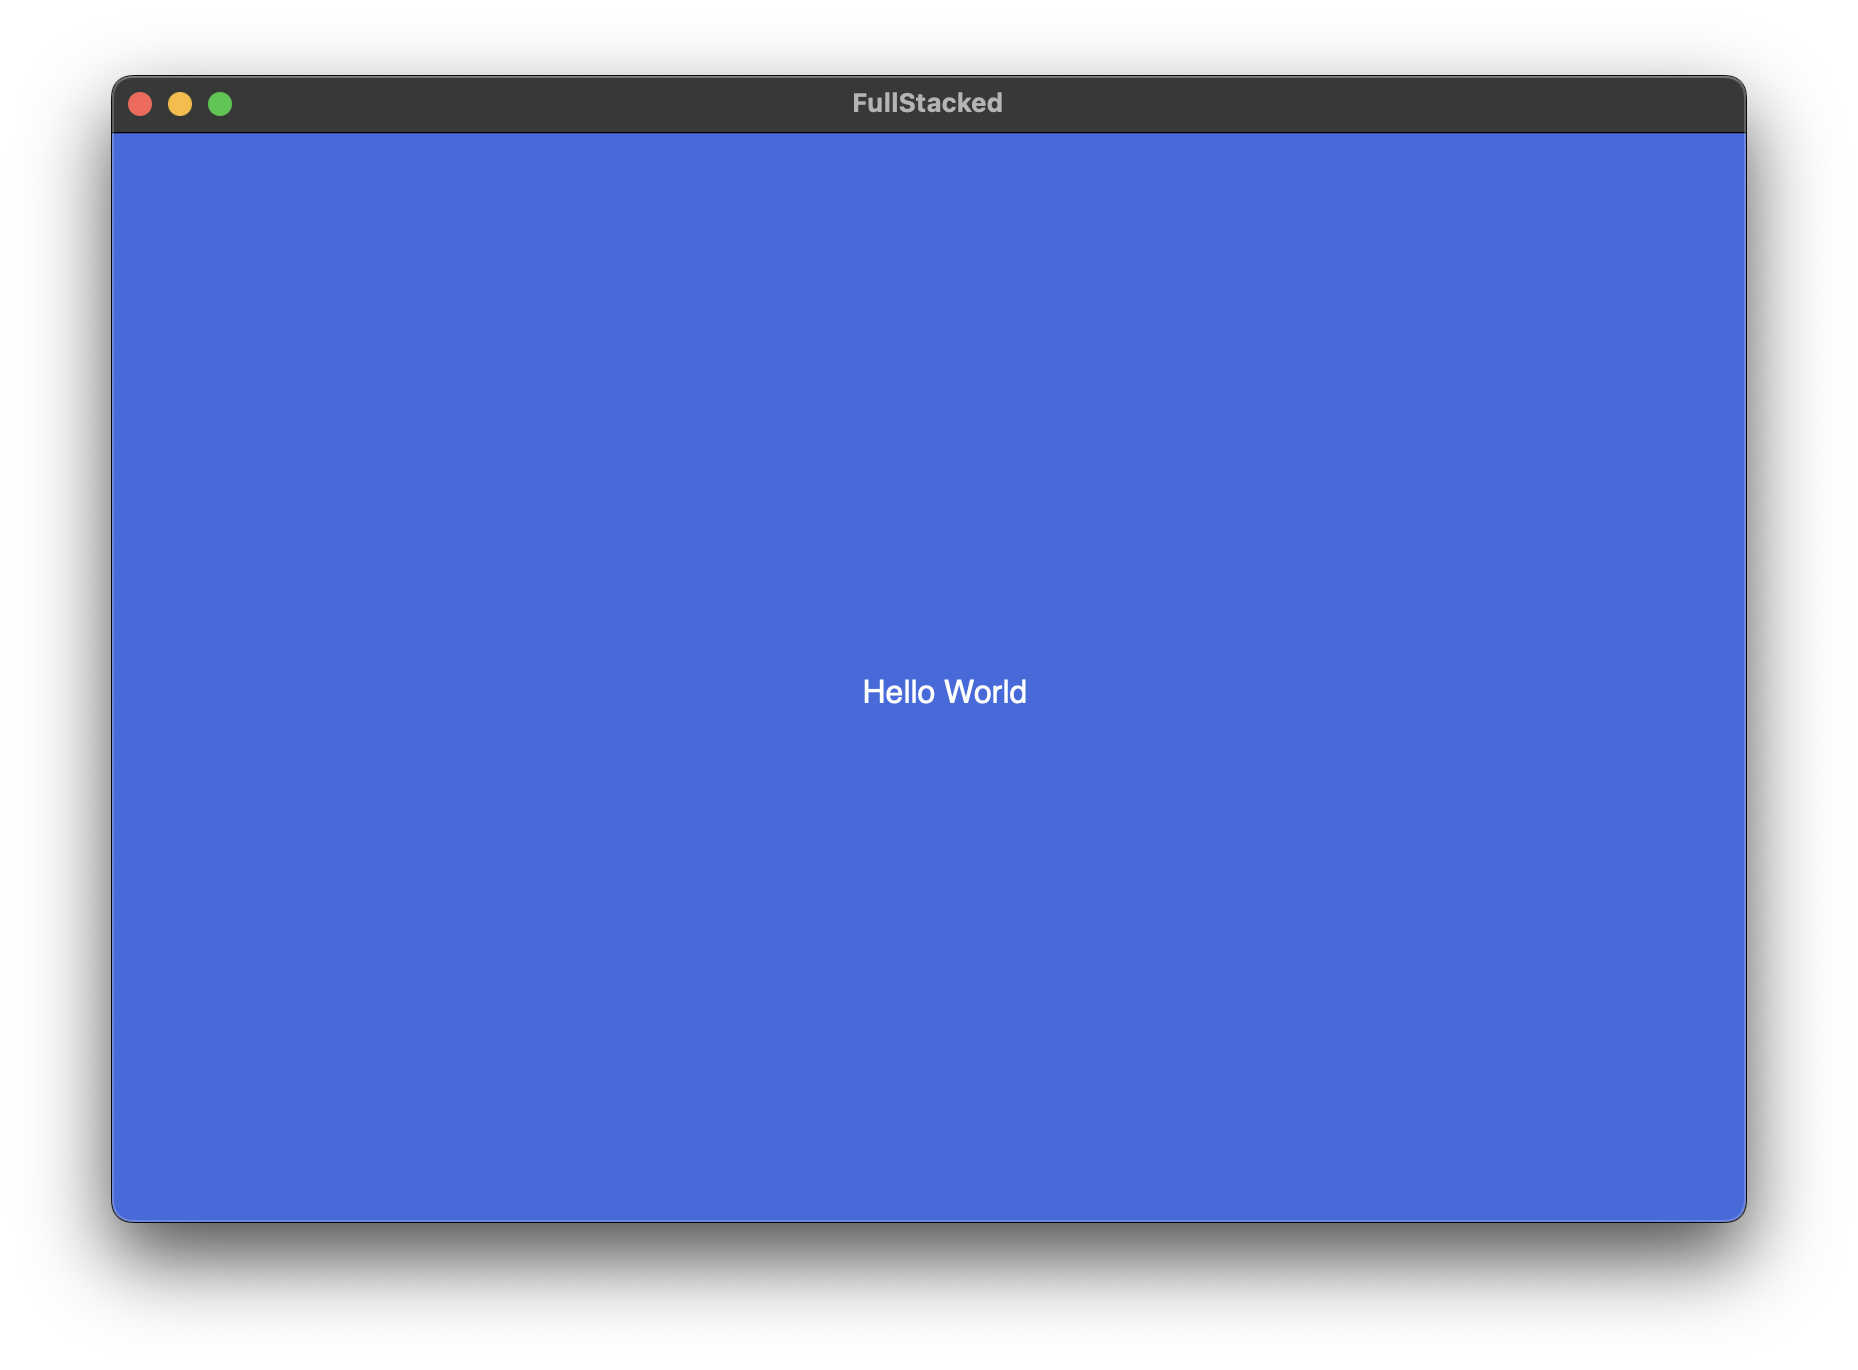
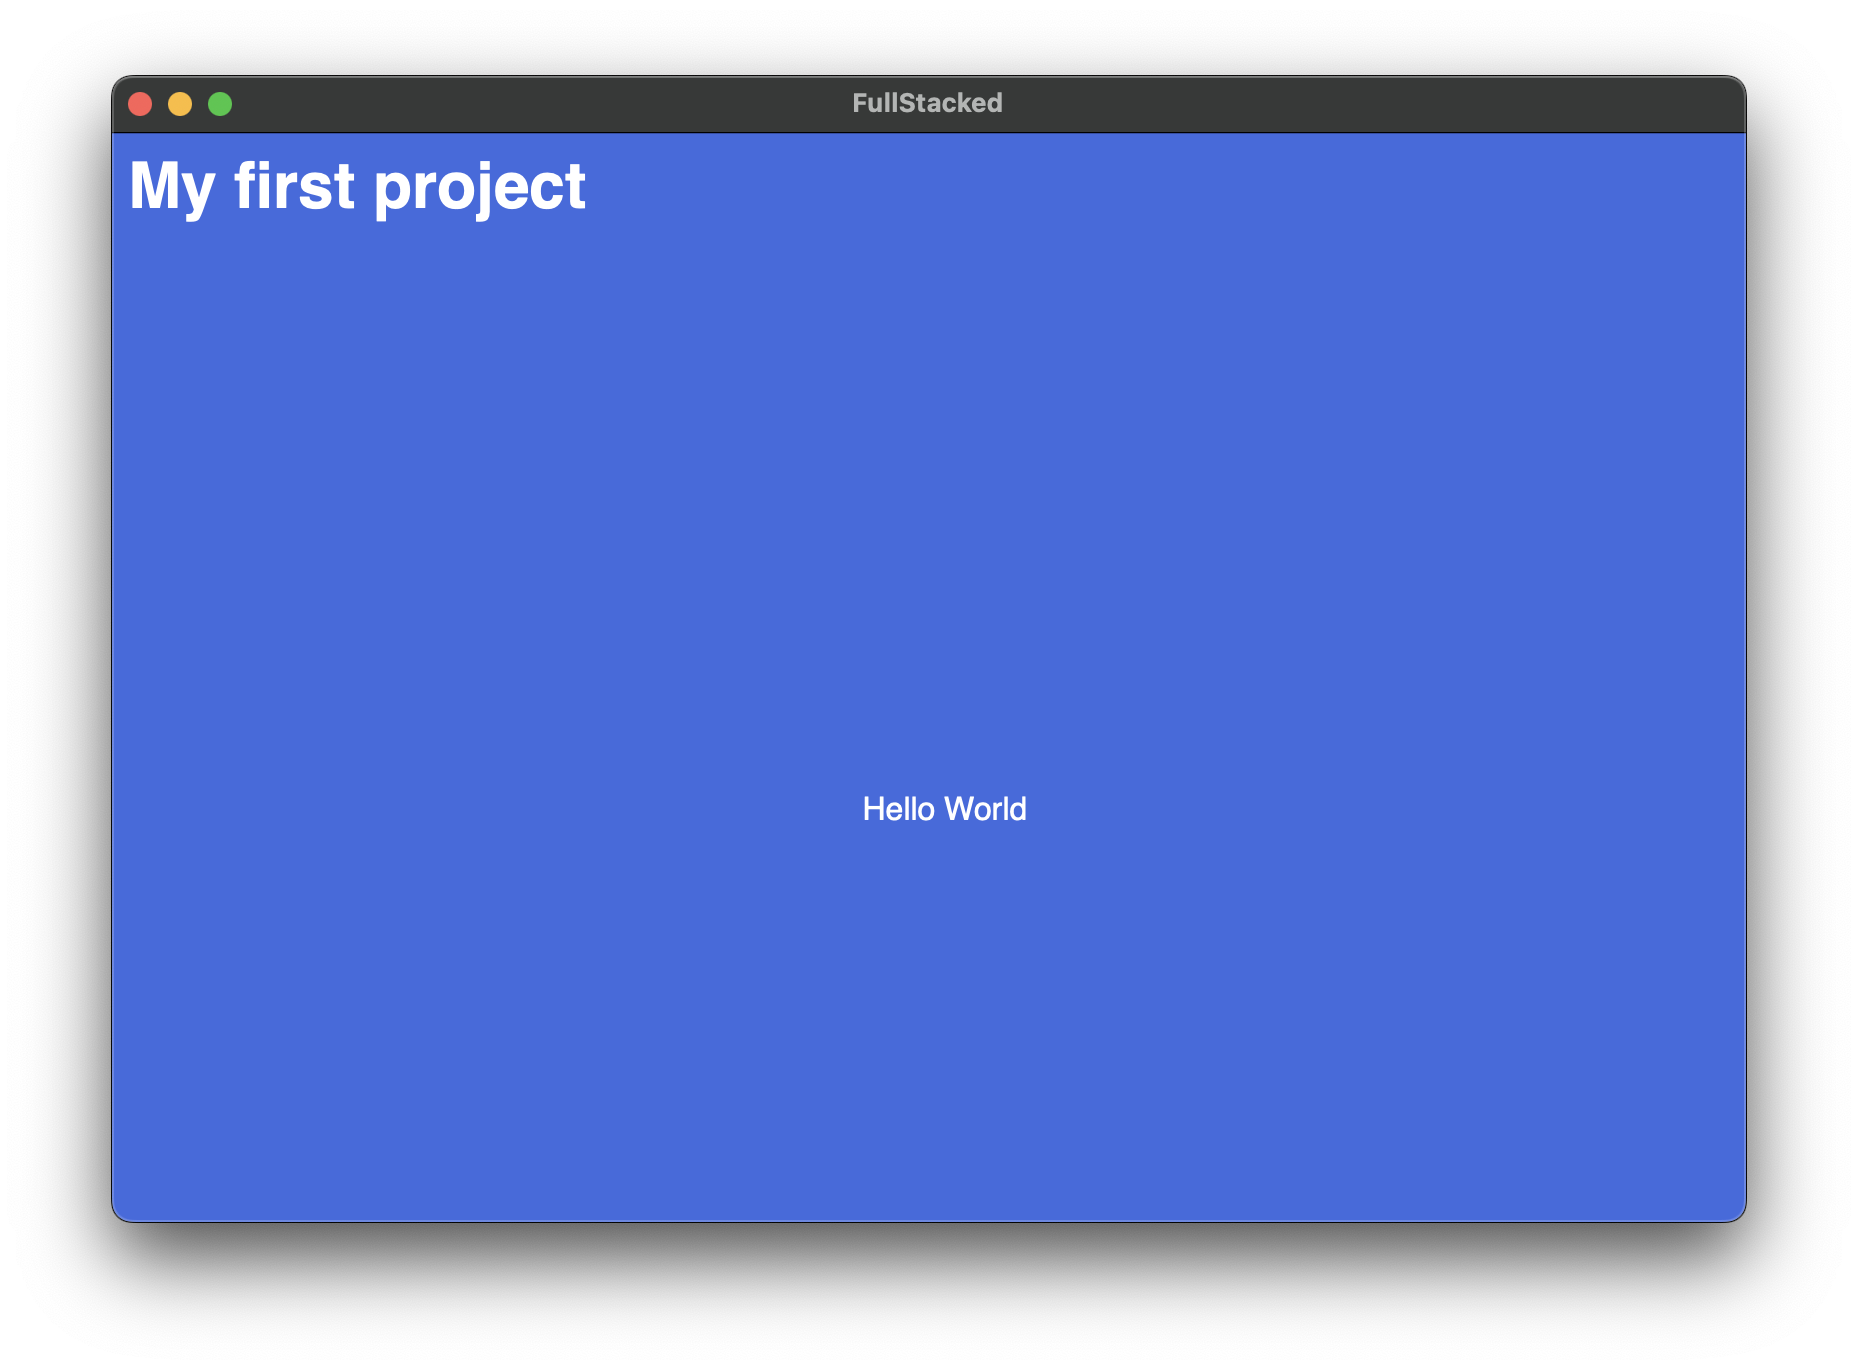
Great! That looks pretty nice. From there, you can now build views and component to create entire interfaces. To learn about more cool features, continue in the guides section.
Editing the HTML entrypoint
Creating and editing an index.html file is totally optional. If you'd like to add some elements directly from the html, you can always do so.
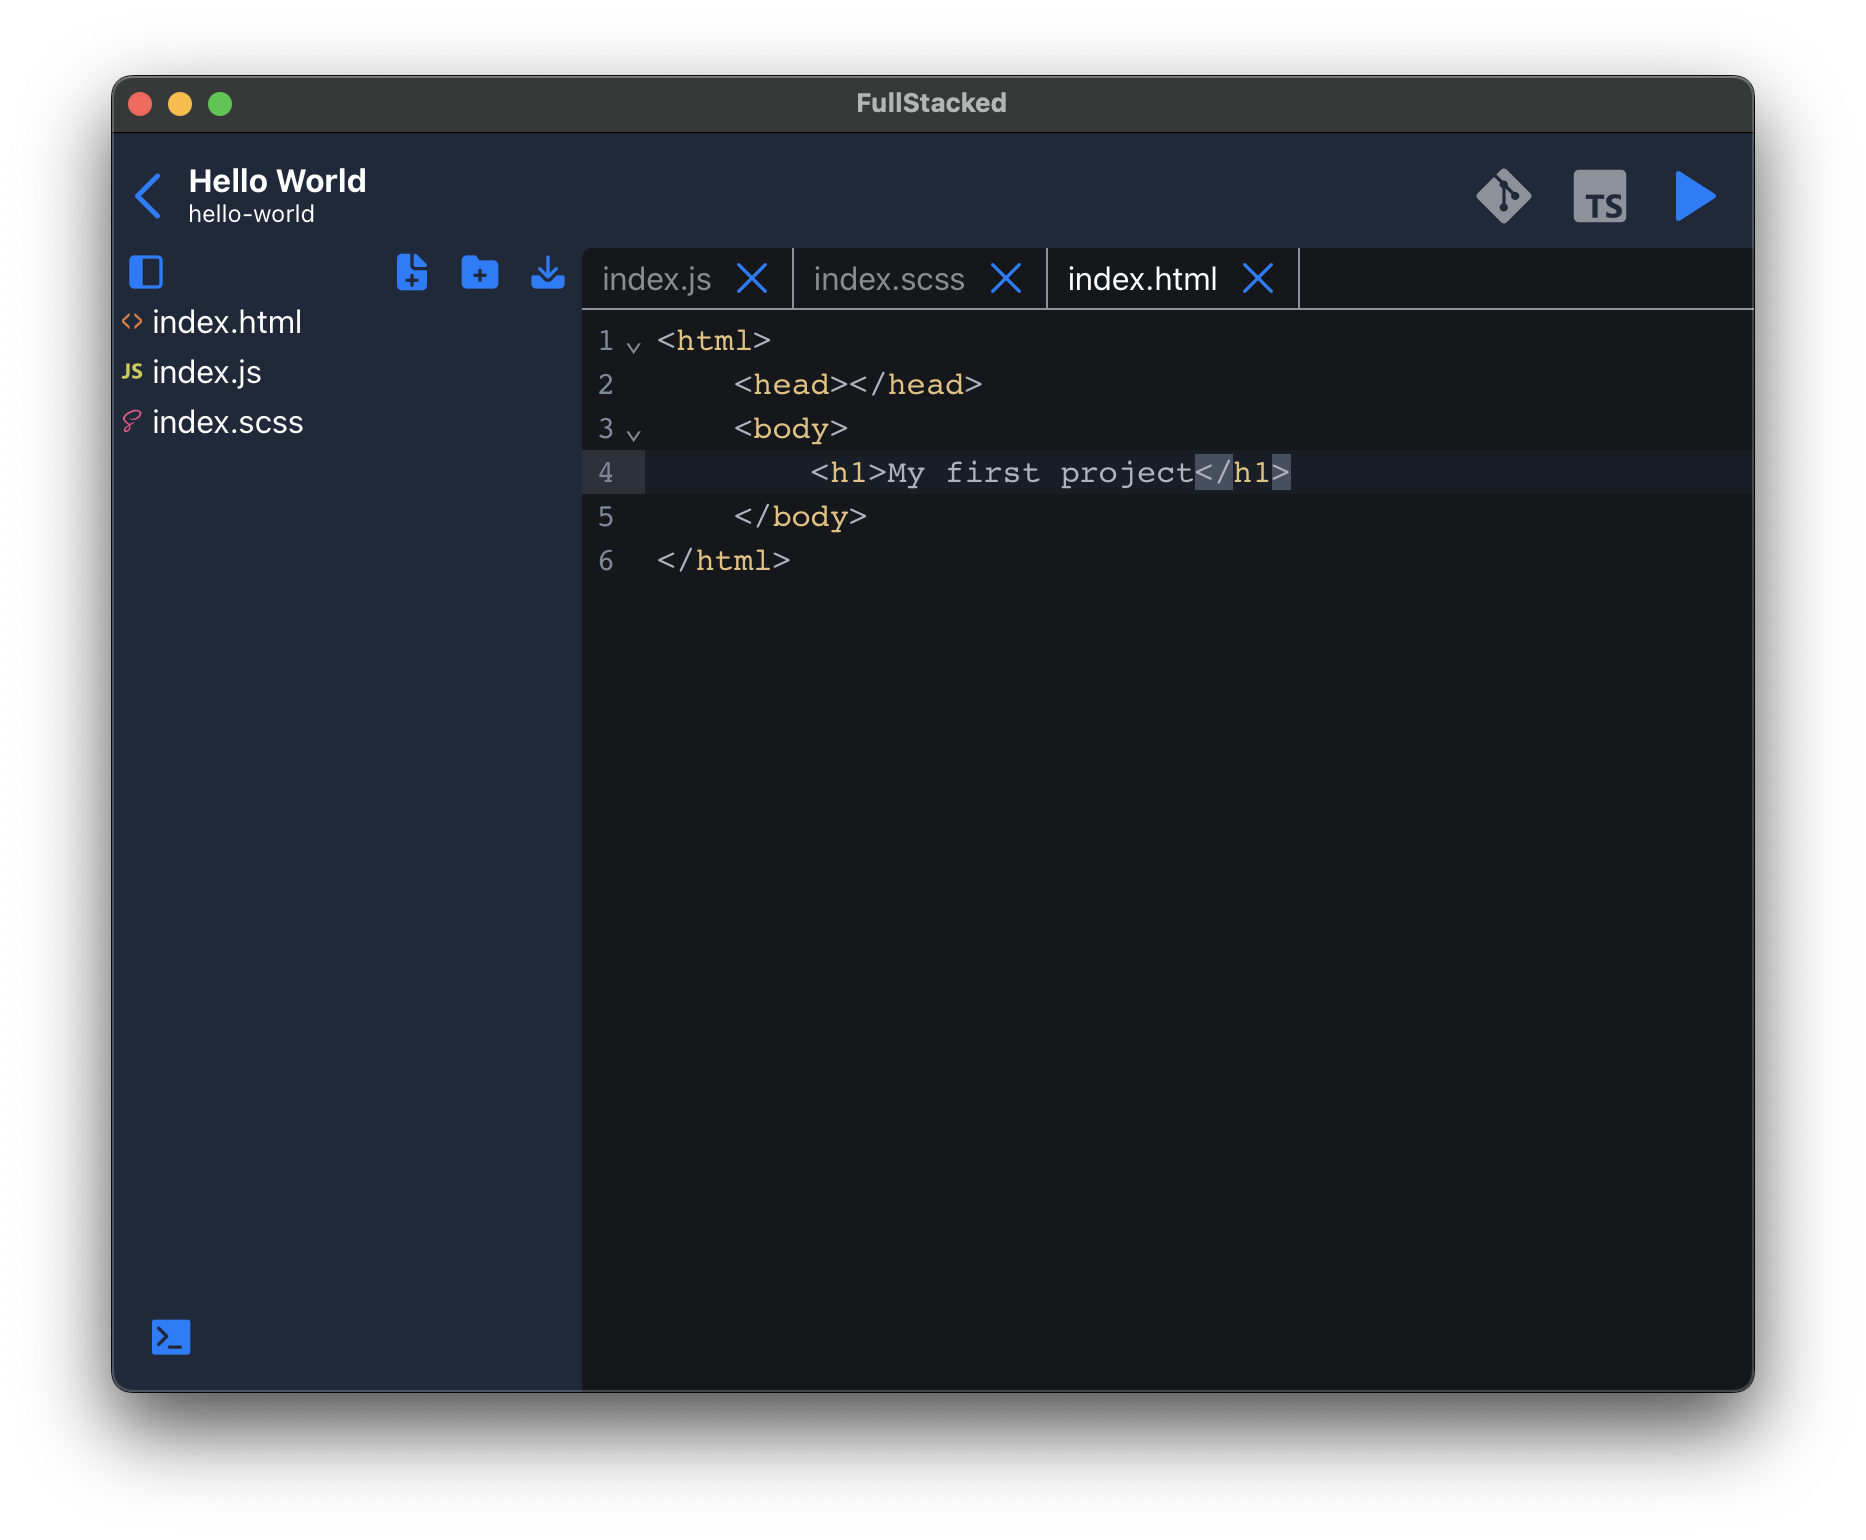
<html>
  <head></head>
  <body>
    <h1>My first project</h1>
  </body>
</html>