Using git
Git is a powerful versioning tool. FullStacked provides a few git simplified functionalities to improve your development flow.
Cloning a Repository
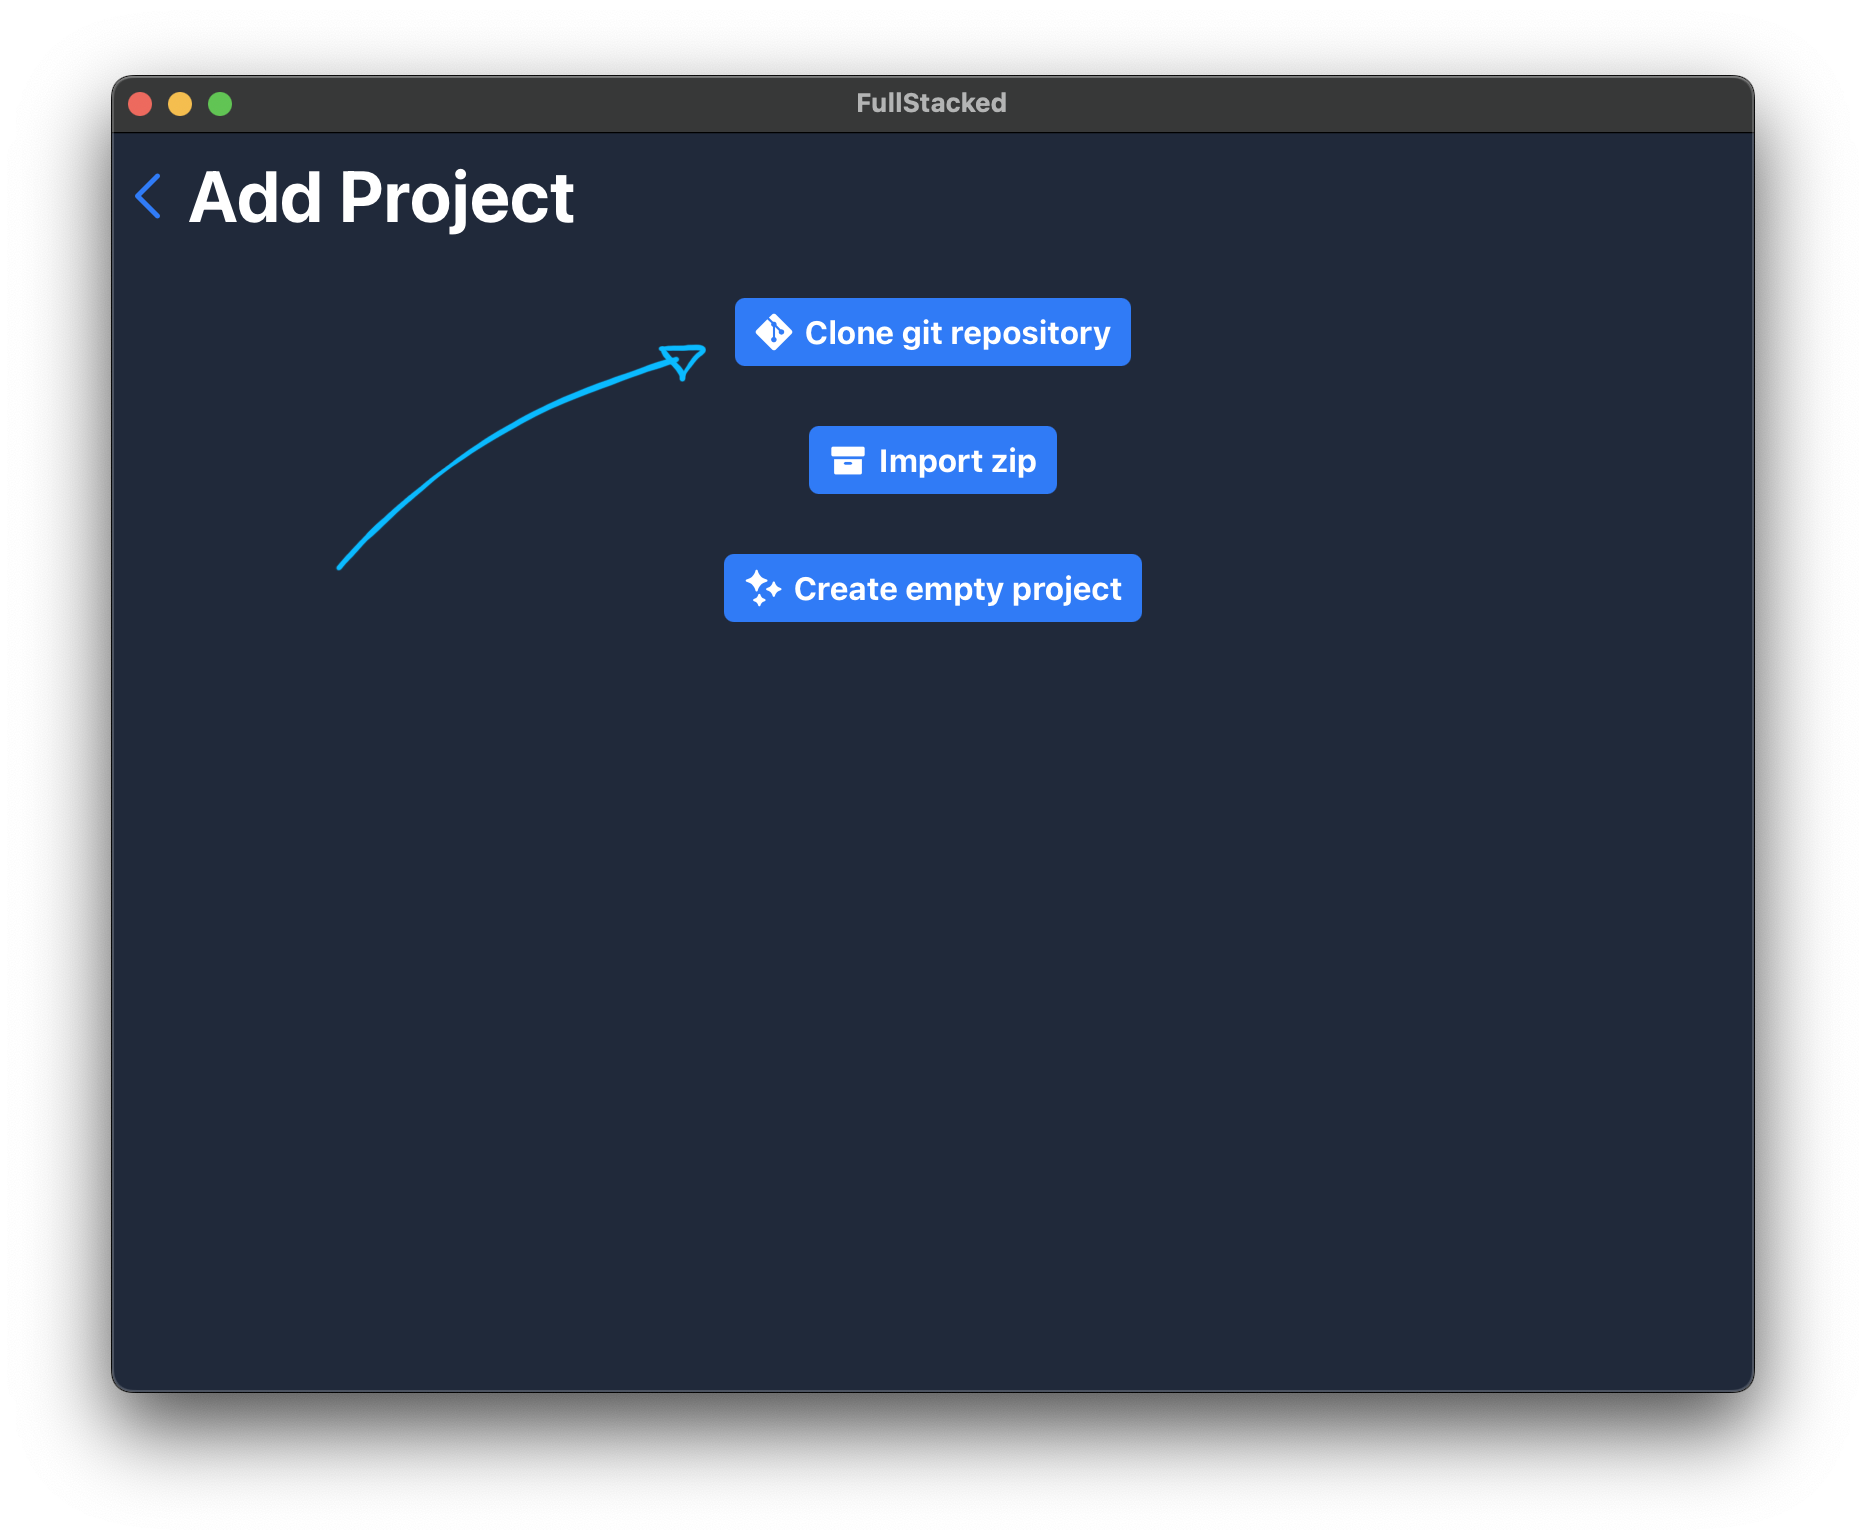
Start in the add project view using the + button on the projects list view. Then select Clone git repository.
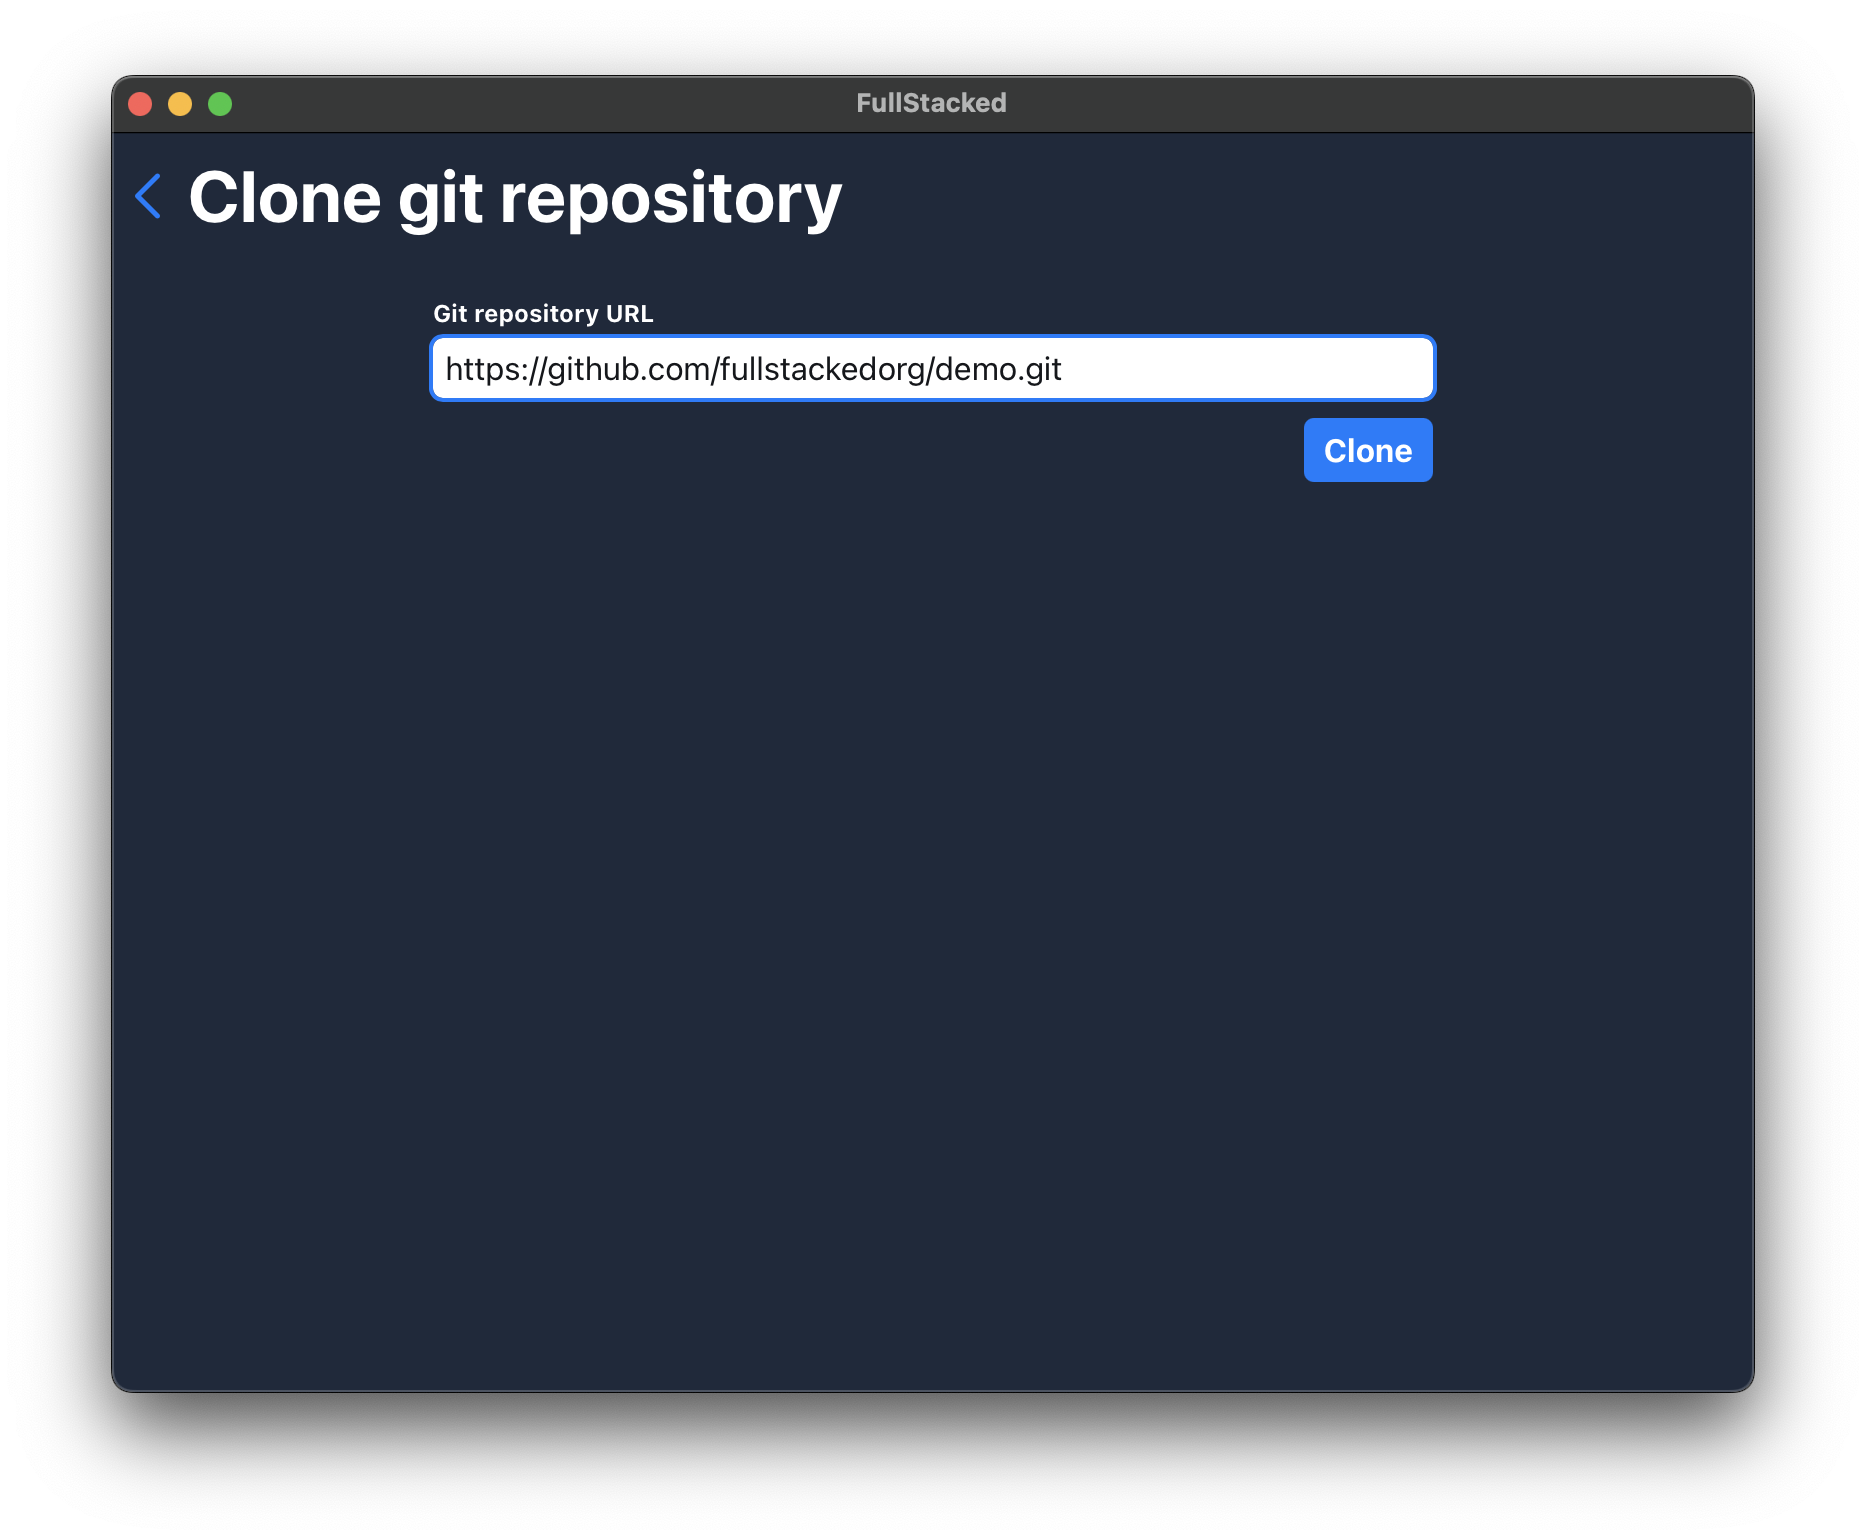
Enter your repository .git url and hit Clone. Always use the http url (not ssh).
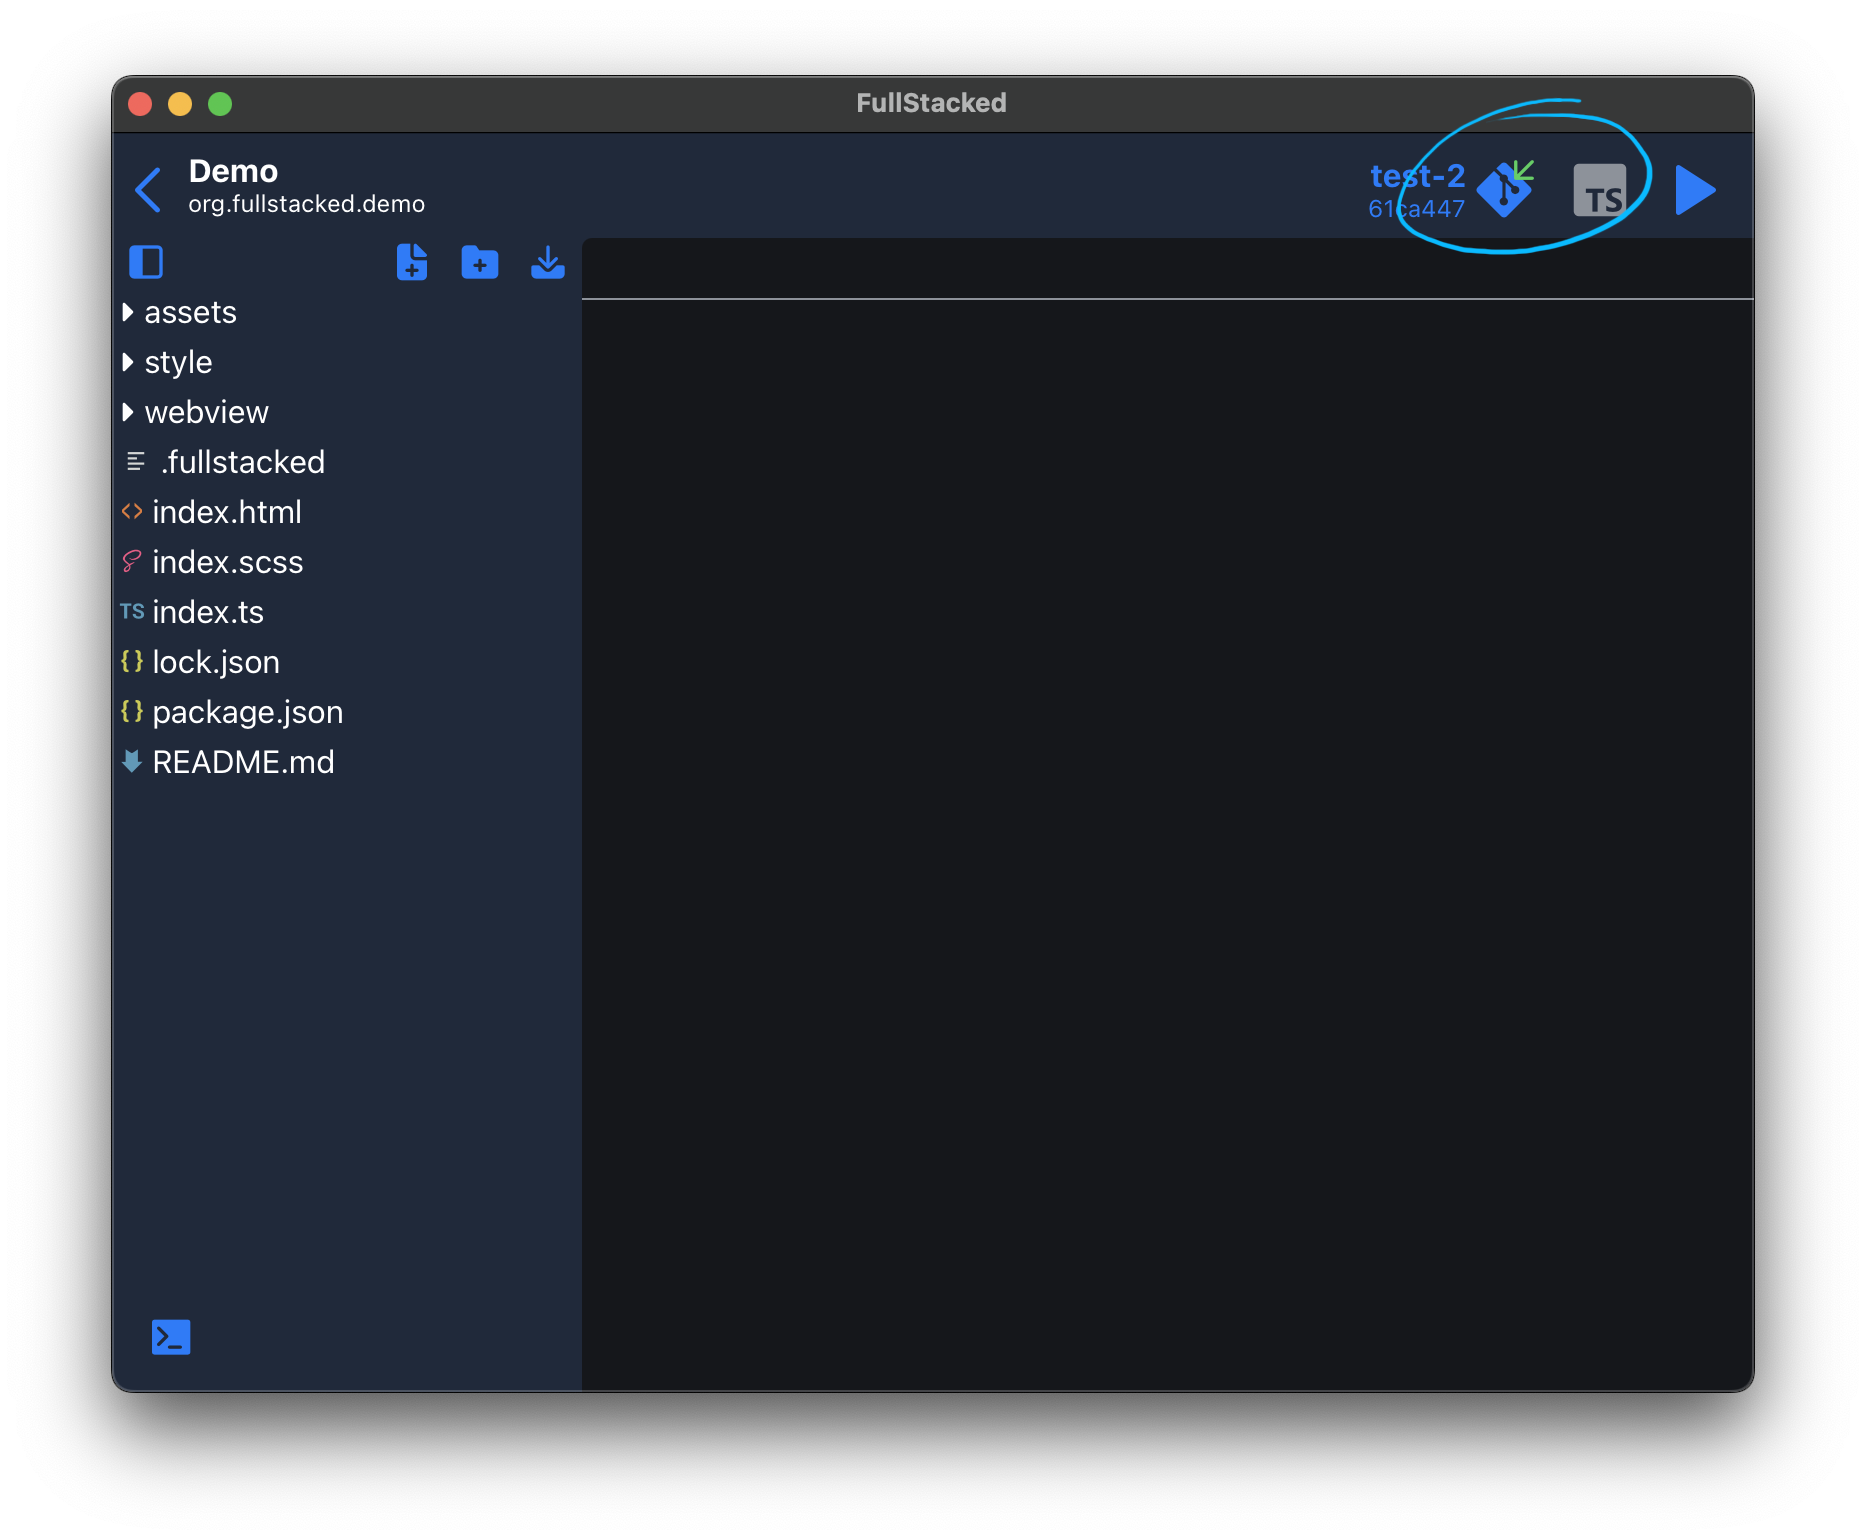
Open your newly added porject. From there, everytime you open this project, it will try to Pull the latest changes. You can notice it by the green arrow on the git button.
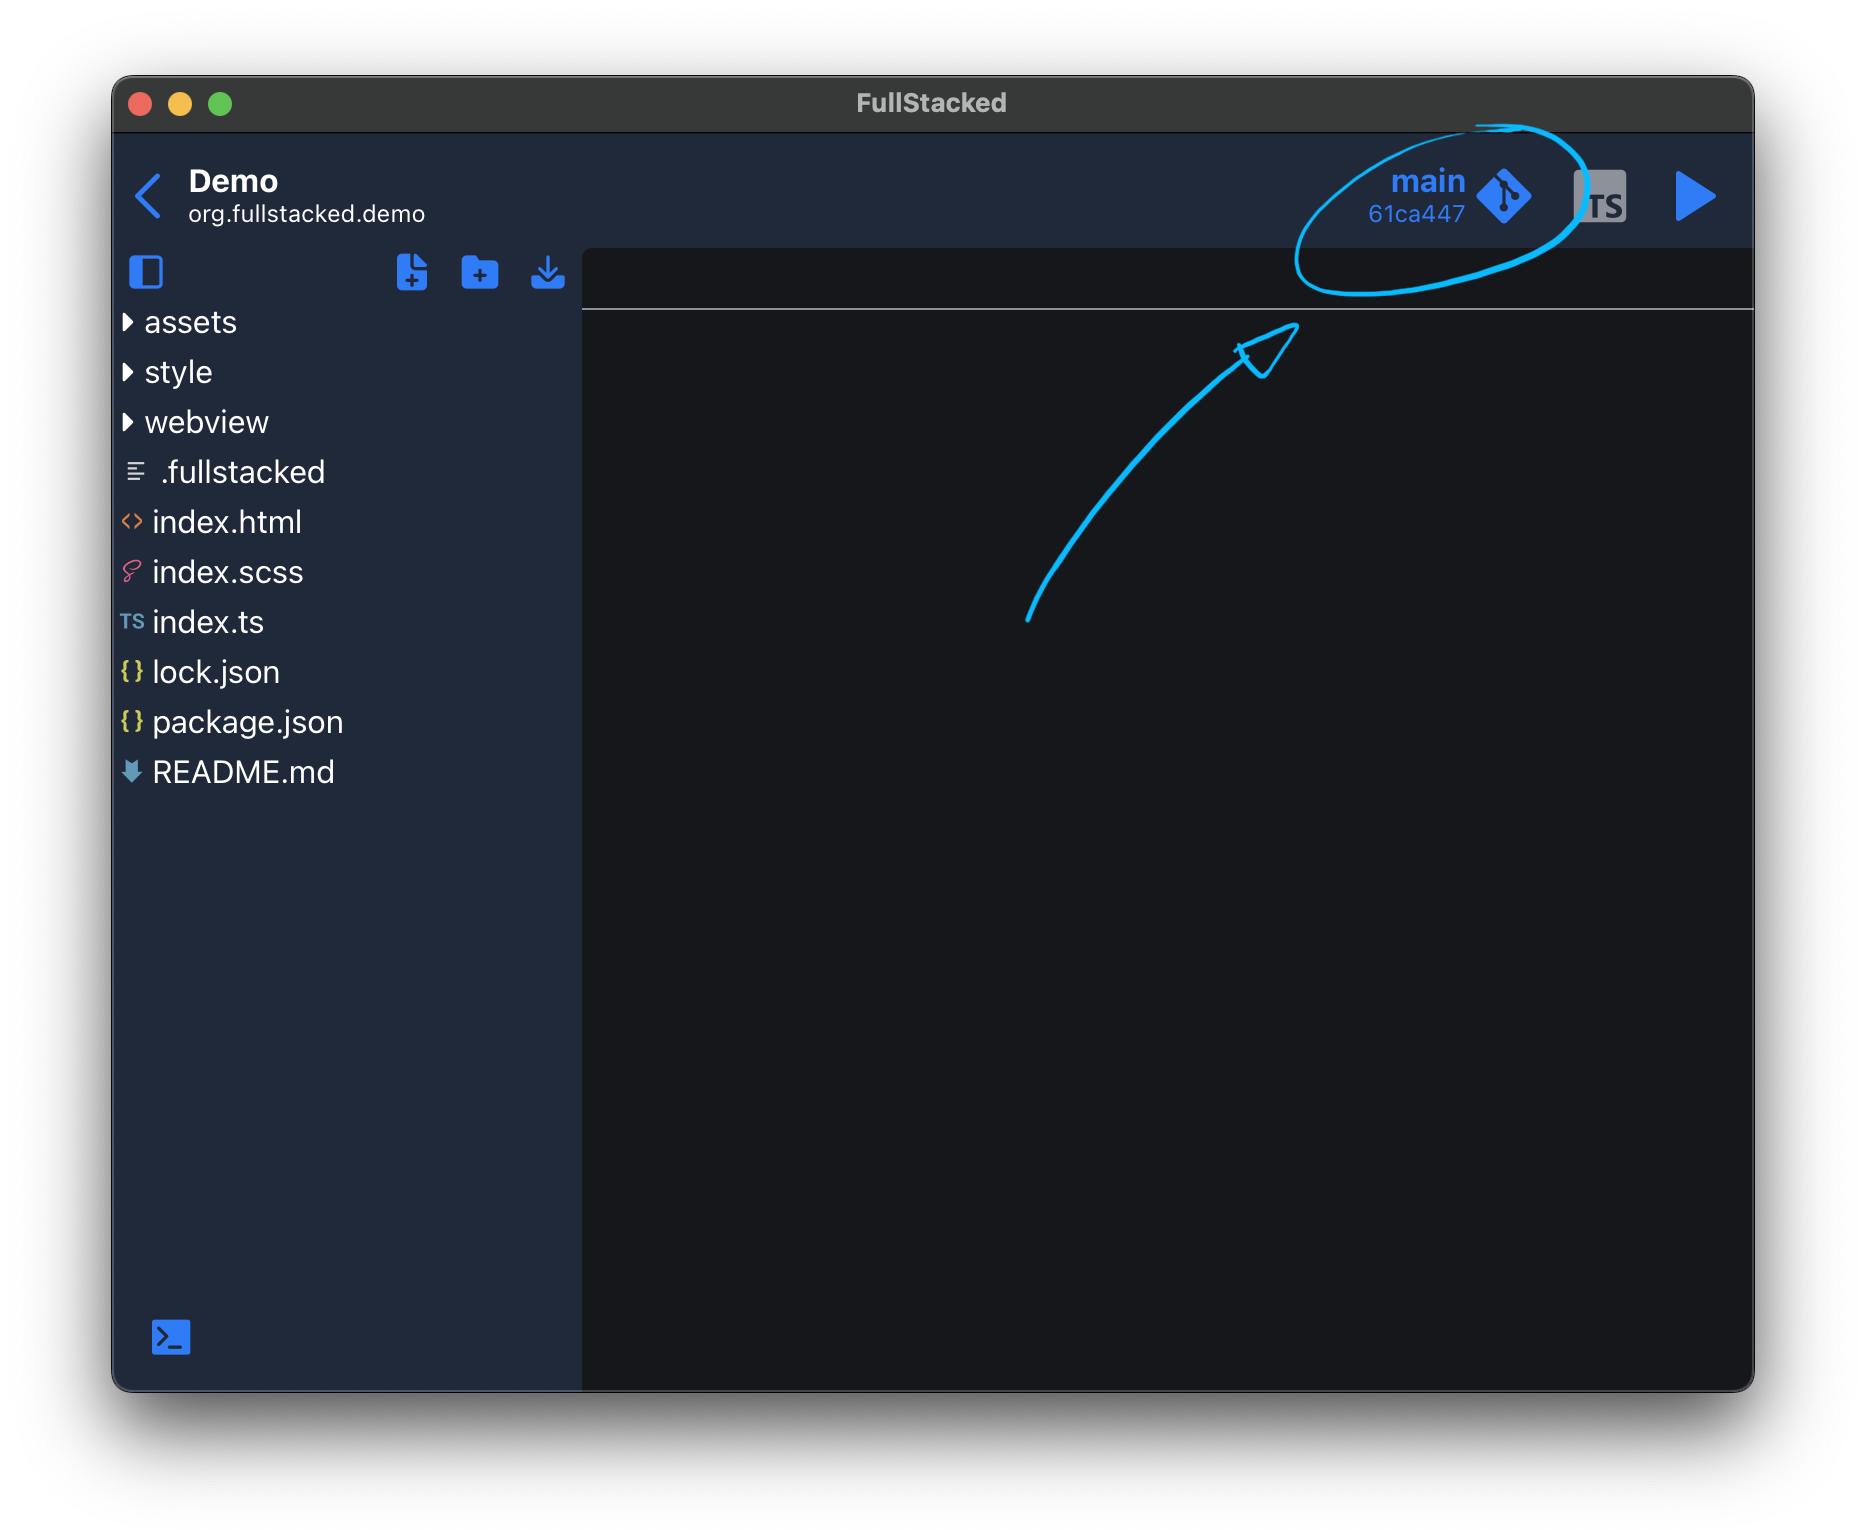
Pushing Code
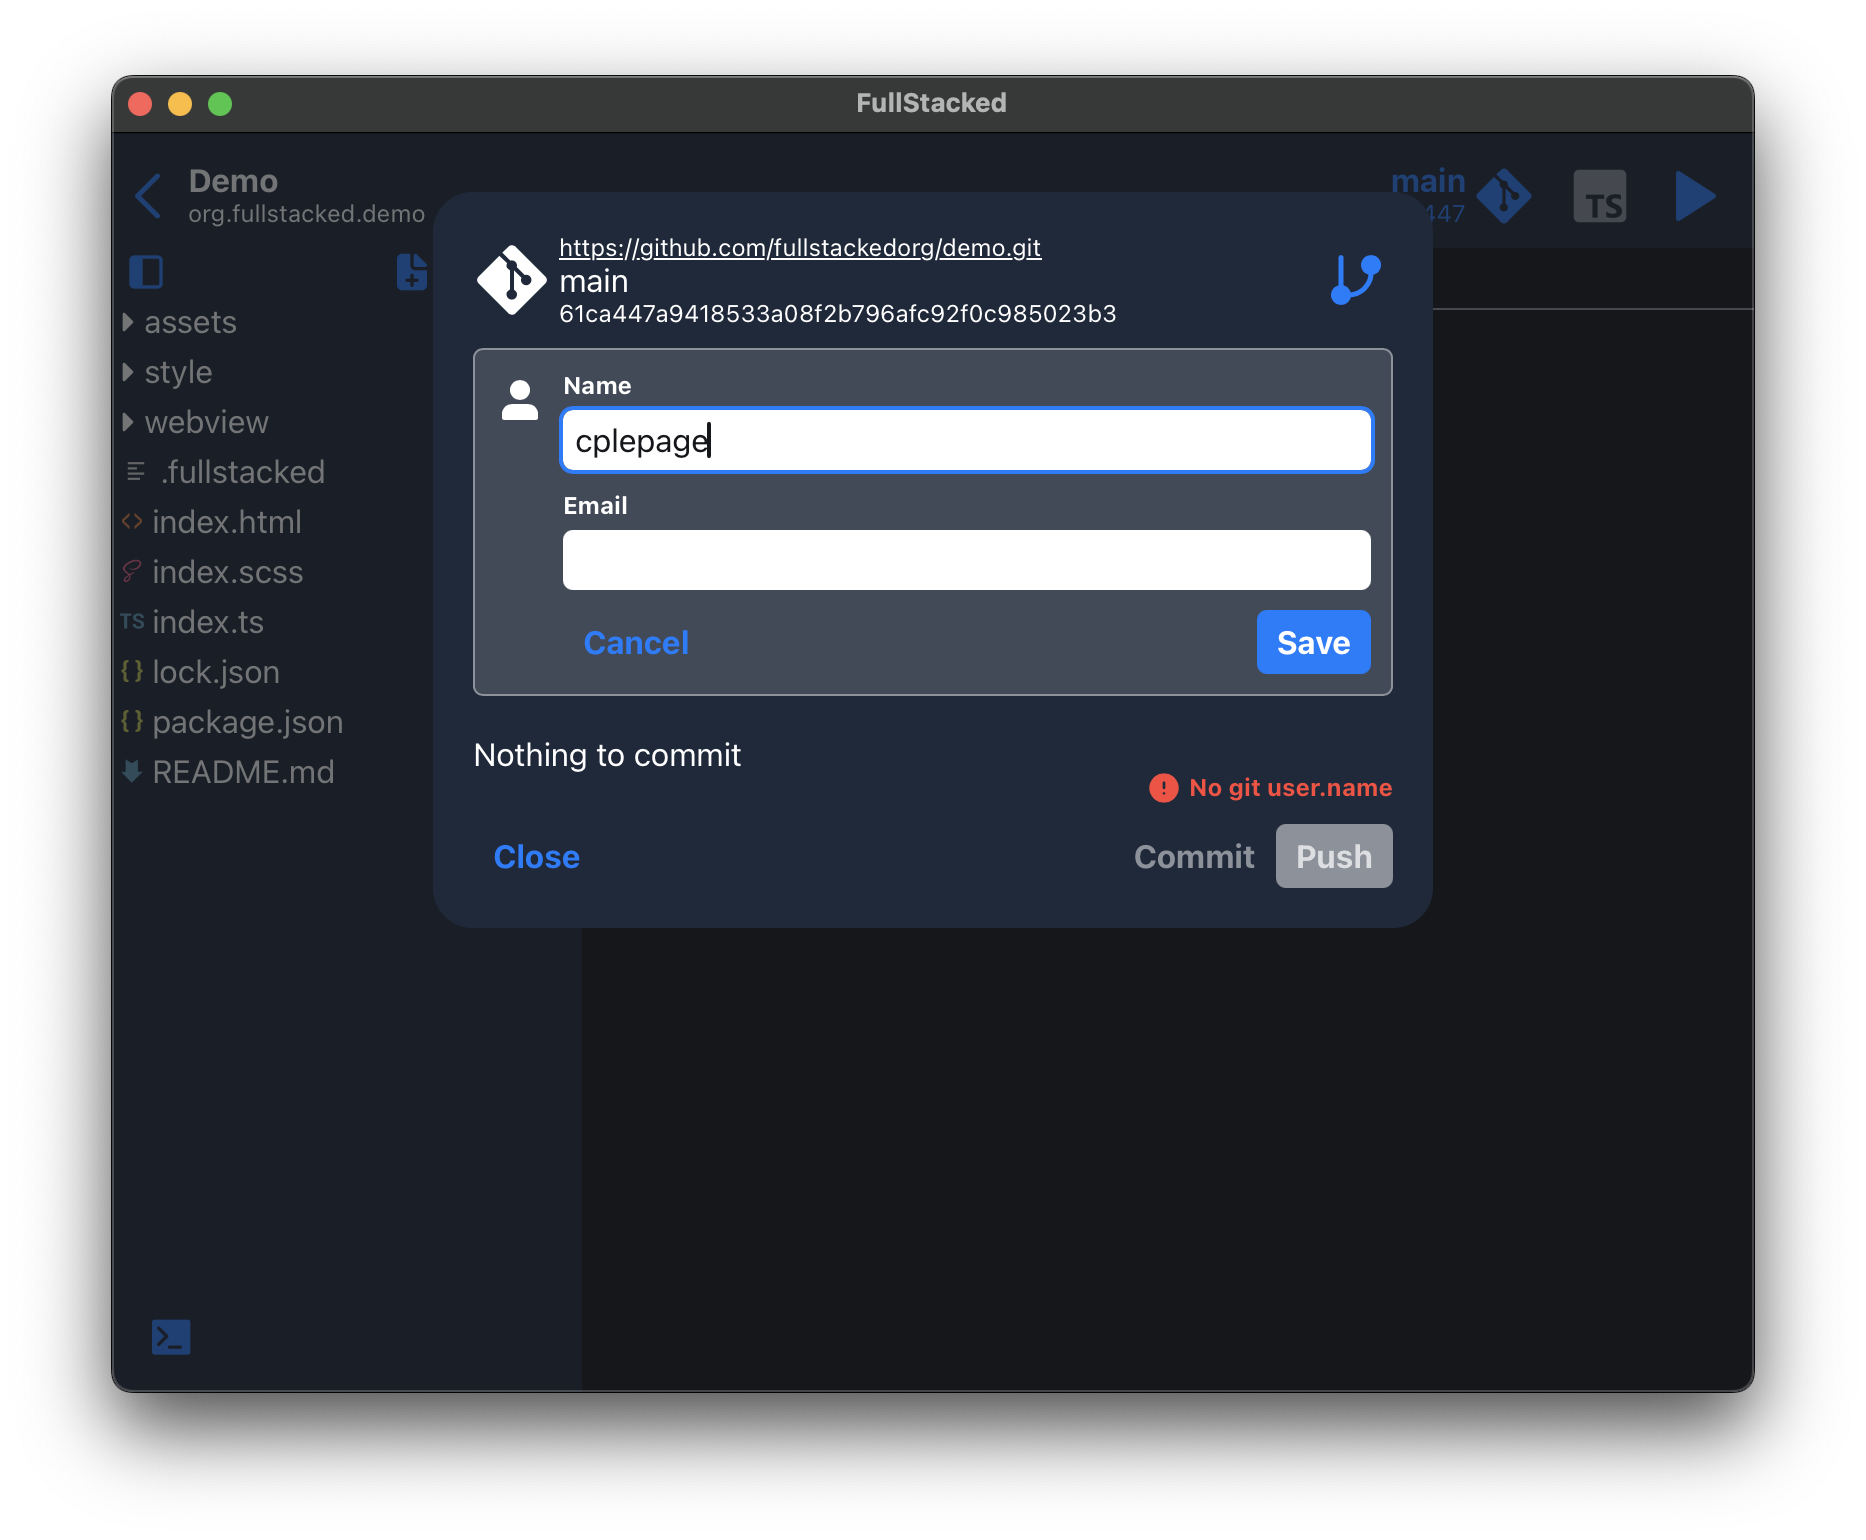
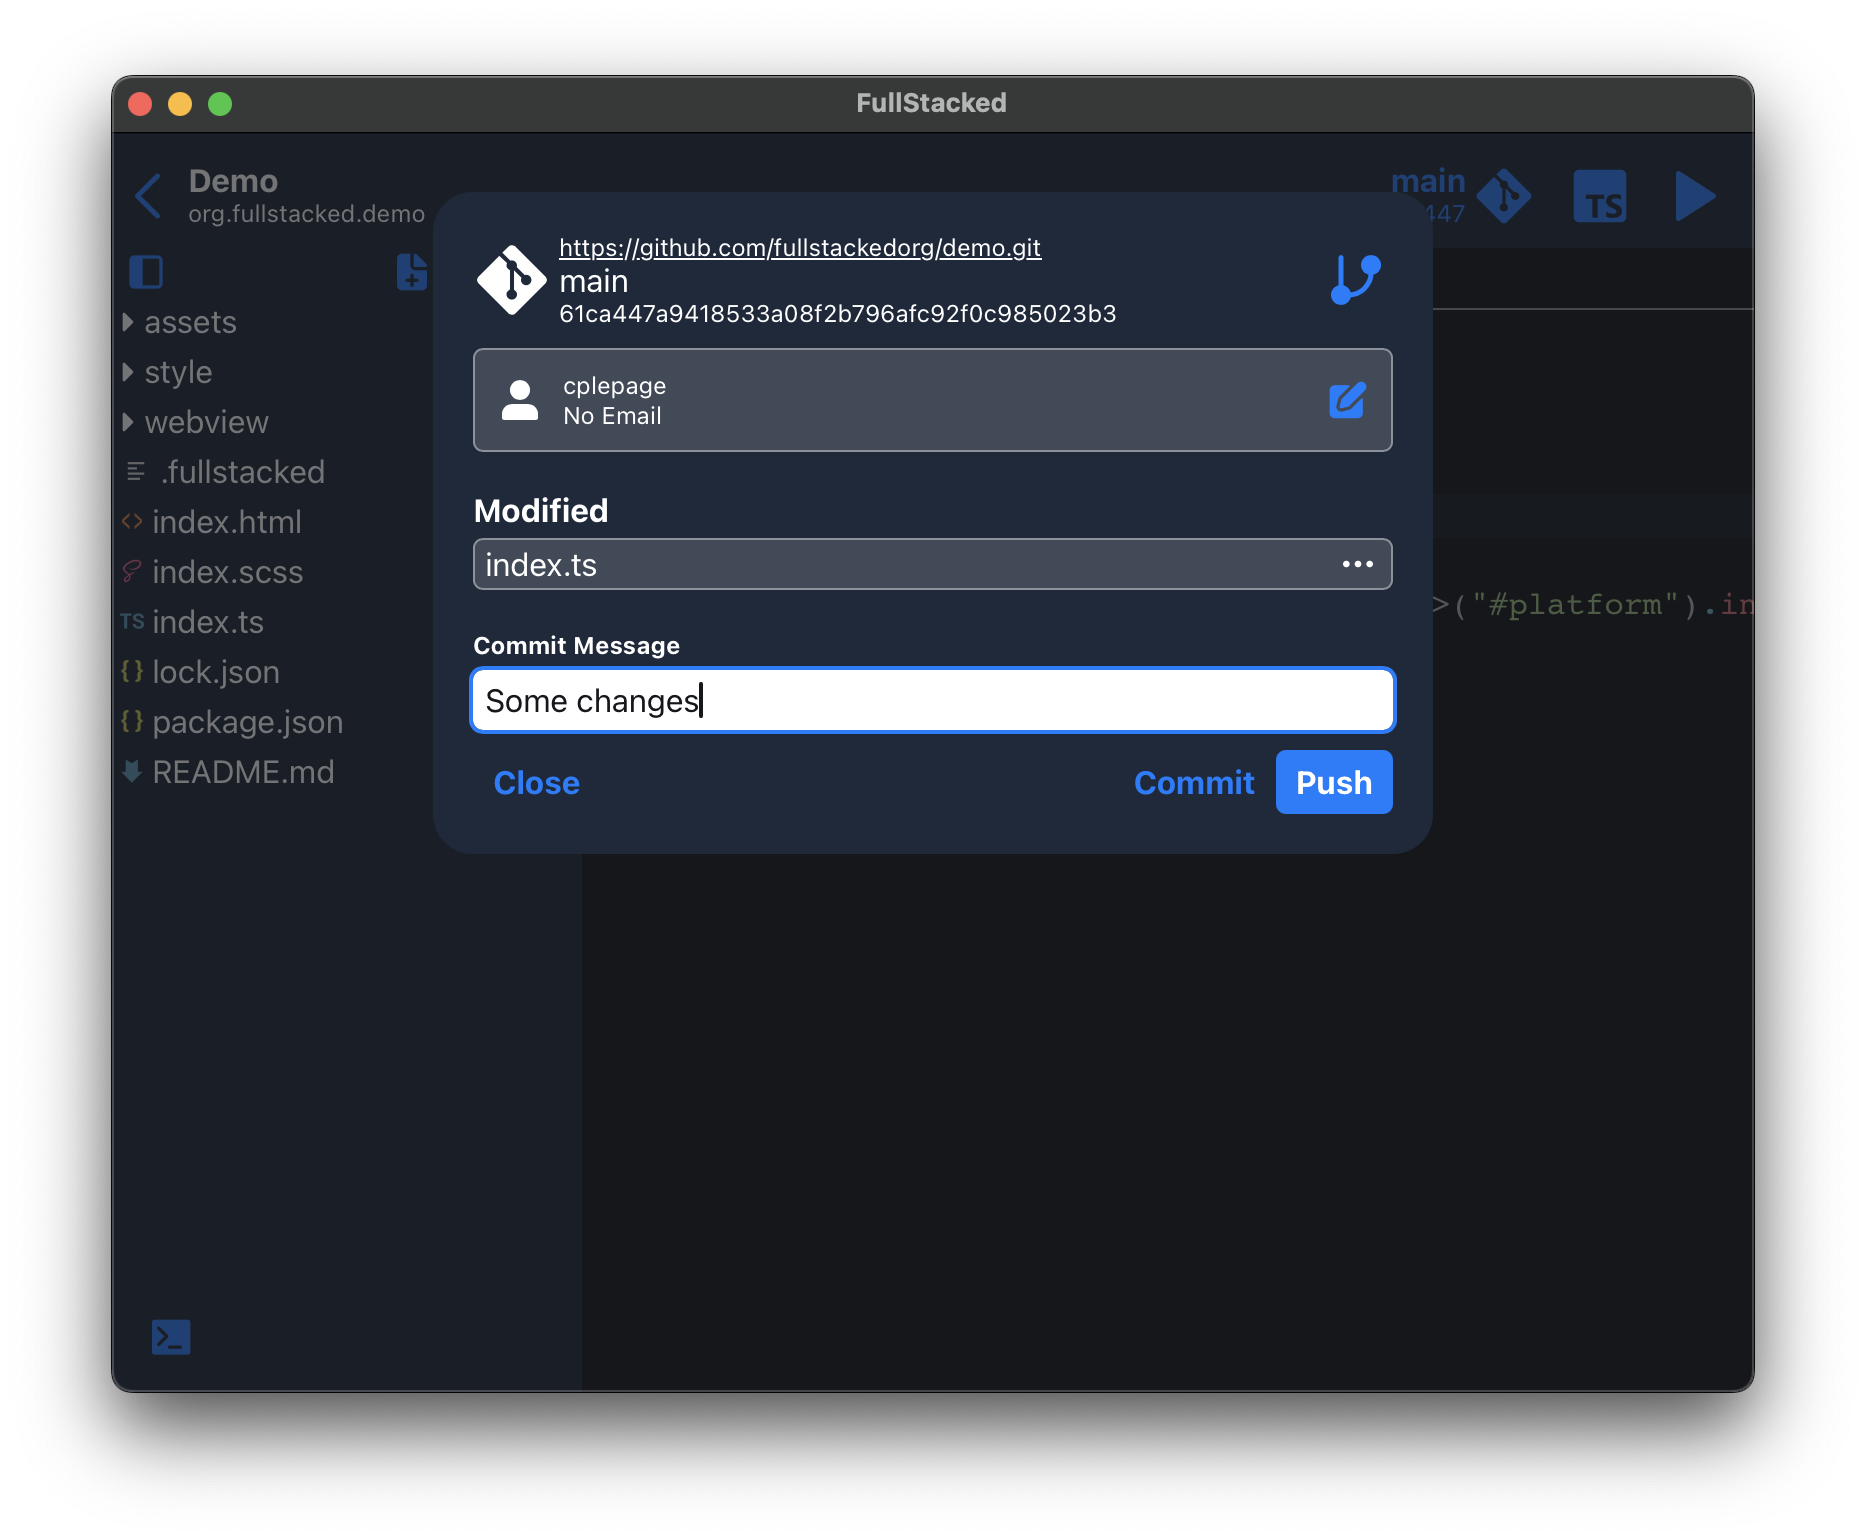
After you've made some changes and updates to your codebase, click the git button in the top bar of the Project view.
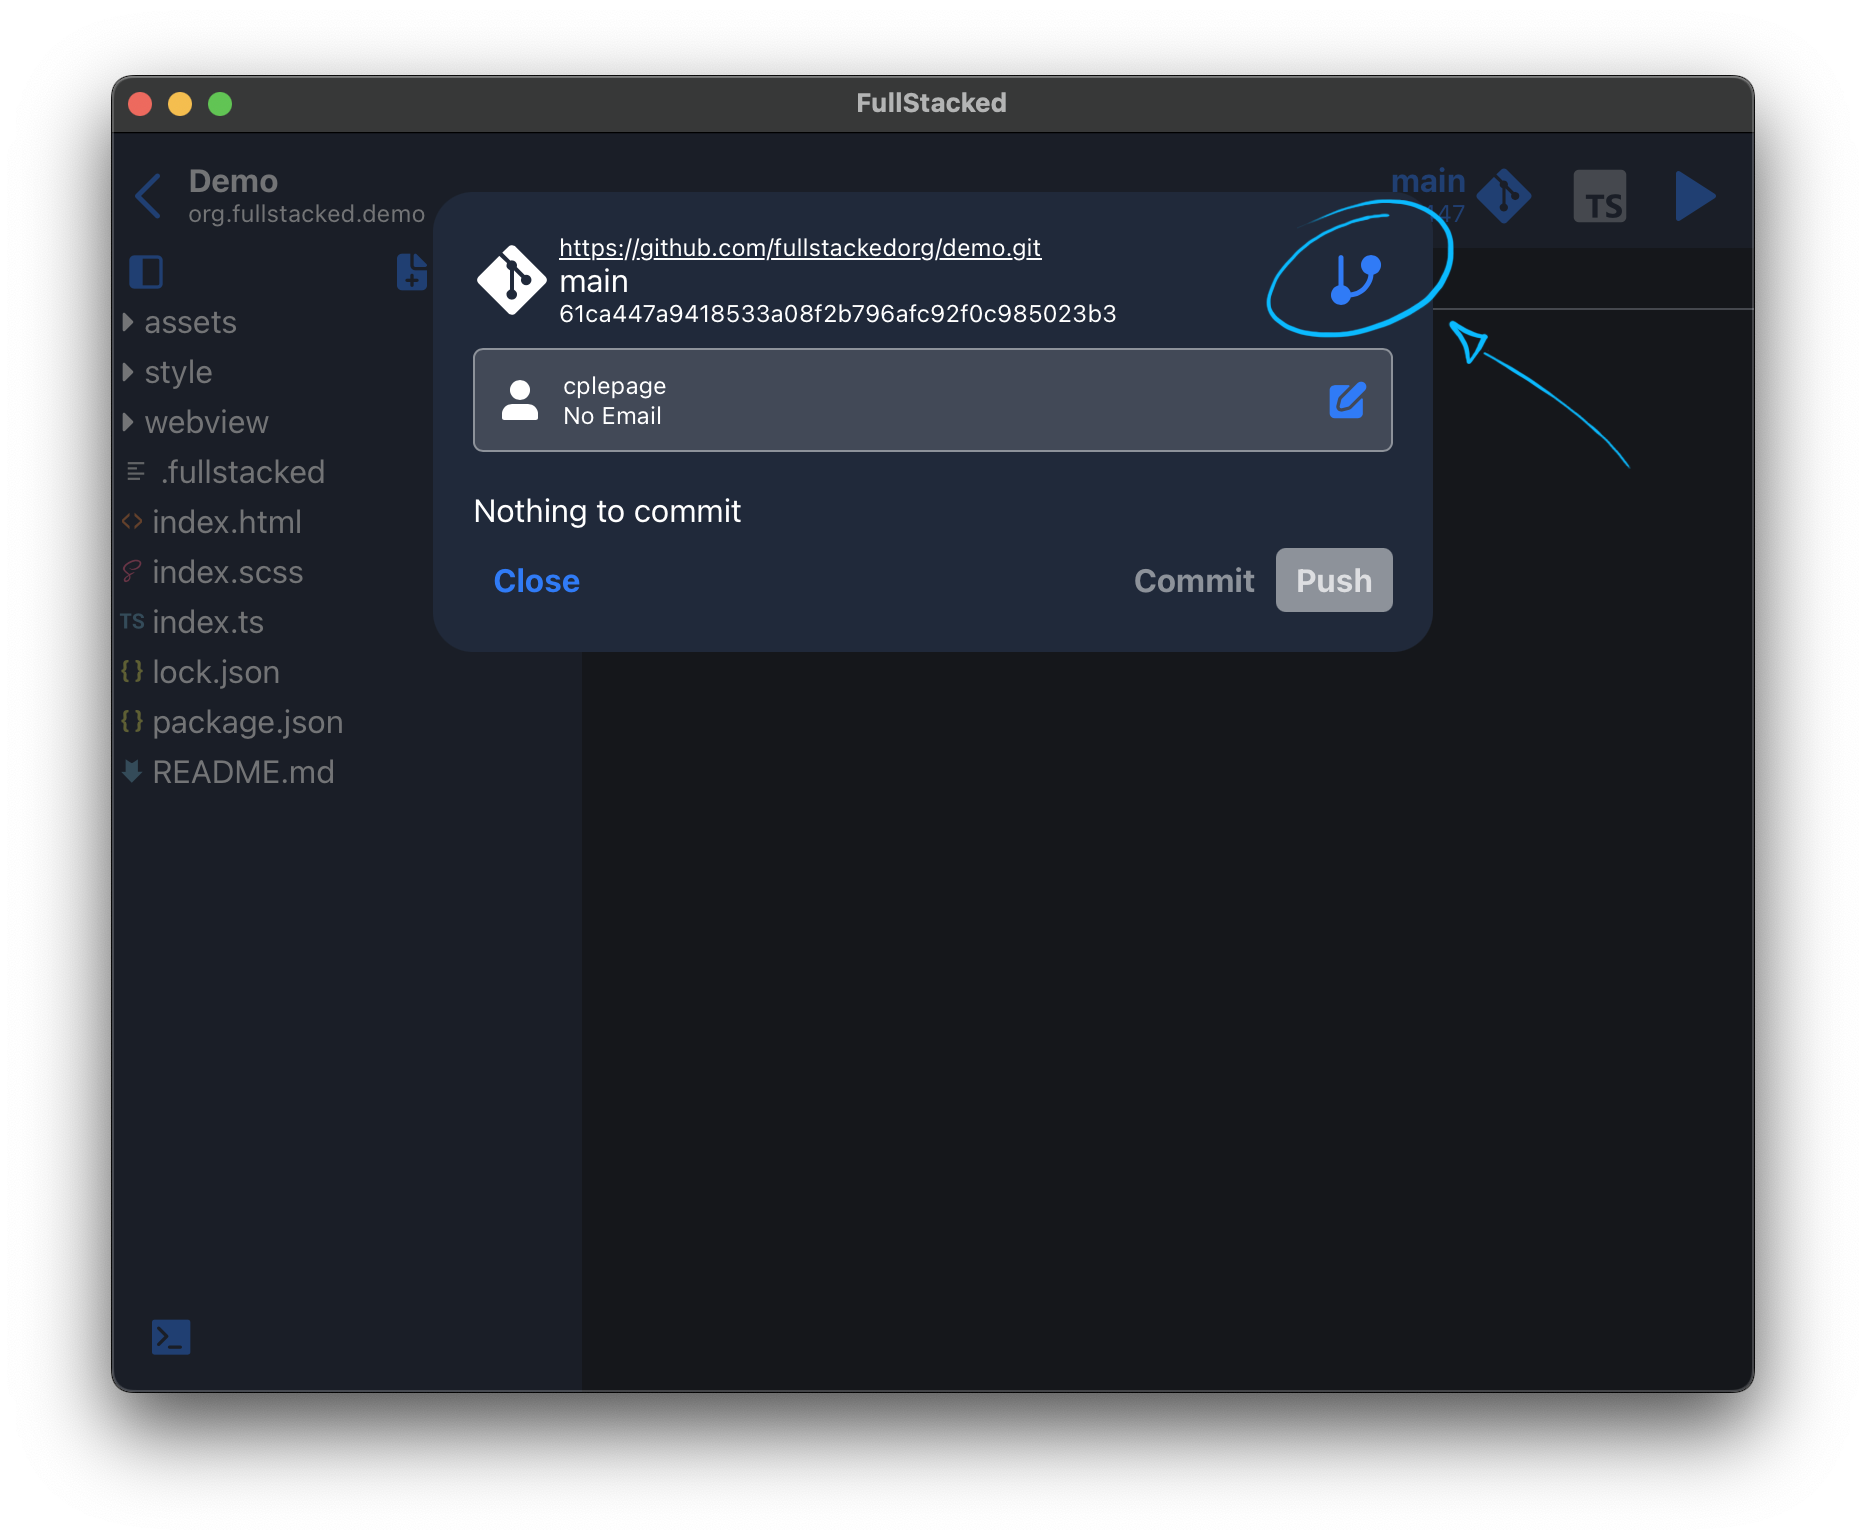
Changes are calculated and displayed there with a text input for your commit message. You can revert any unwanted changes and when ready, whether commit and/or push to your remote (the push button commits beforehand).

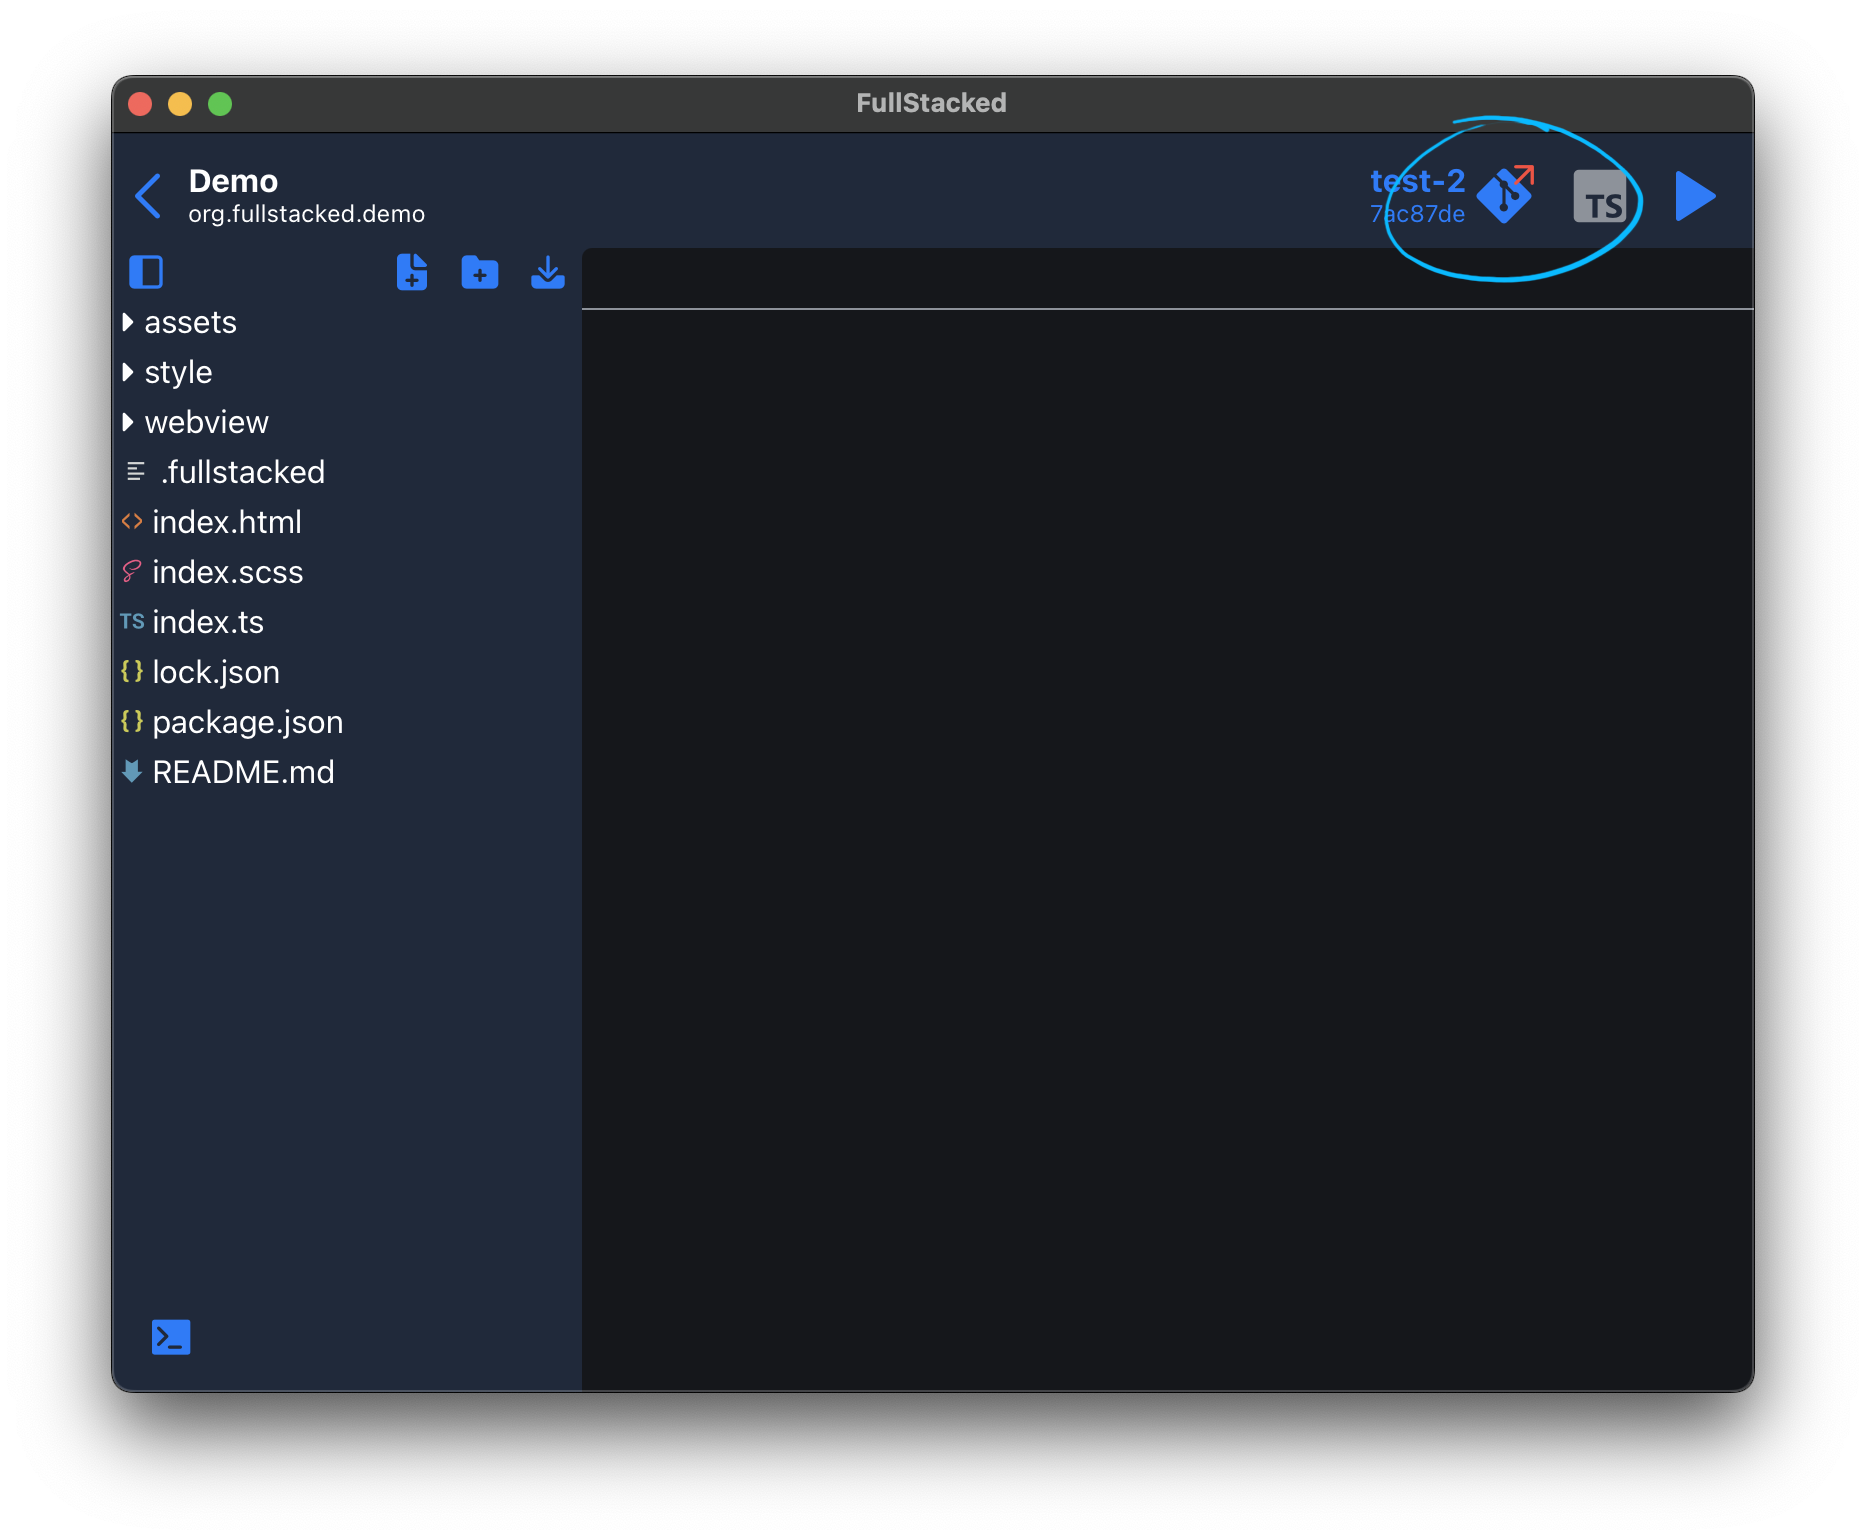
You can notice code being pushed to your remote by the red arrow on the git button.
Using Branches
FullStacked has very minimal features for merging and resolving conflicts. Be warned to play it safe with your branching strategies. More feature will be implemented in future developments.
A branches button is available in the git dialog. Click it to access the list of available branches in your repository.
From here, you can see on which branch your are, create a new one and checkout other branches.
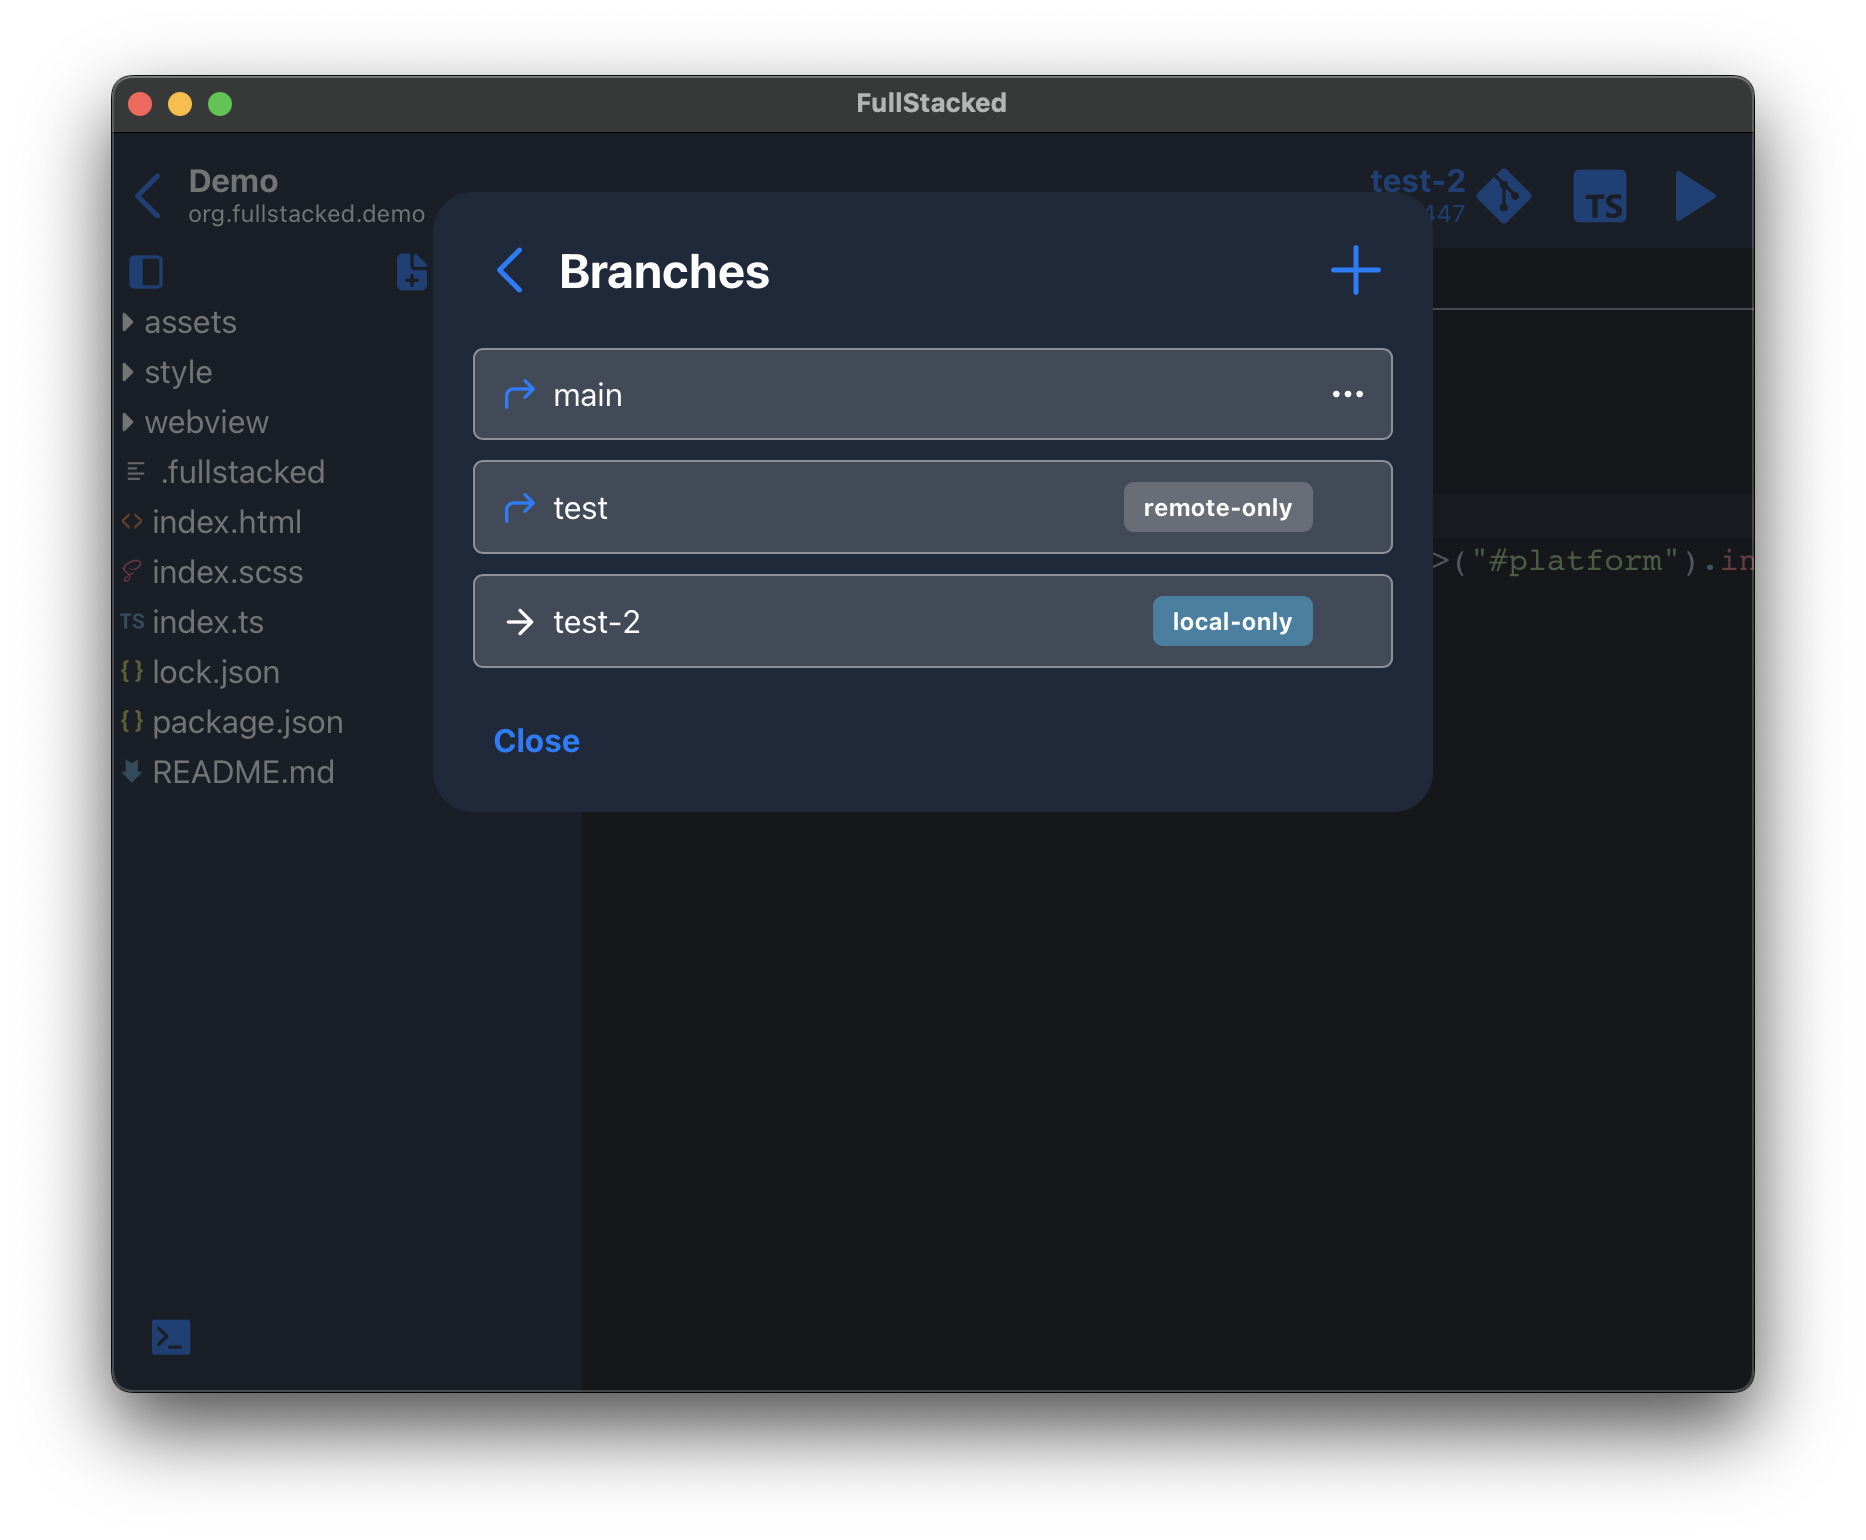
Remote-only, local-only and deleting branches
- Branches that has never been checked out are labeled
remote-only - Branches that has never been pushed to remote are labeled
local-only - No label means the branch exists both locally and on remote.
Deleting a branch only deletes the local version of it. While you will lose any local changes, if stuck in some merging mayhem, deleting the branch and re-checking it out can help since it resets the branch to the remote version.
Managing your authentications
For any private and auth required git, you will be prompt to input your username/password (note that the GitHub Device Flow has be added to FullStacked so you don't need to manually create a token). If you ever need to edit, delete or create authentications, you can all manage them in the settings view.
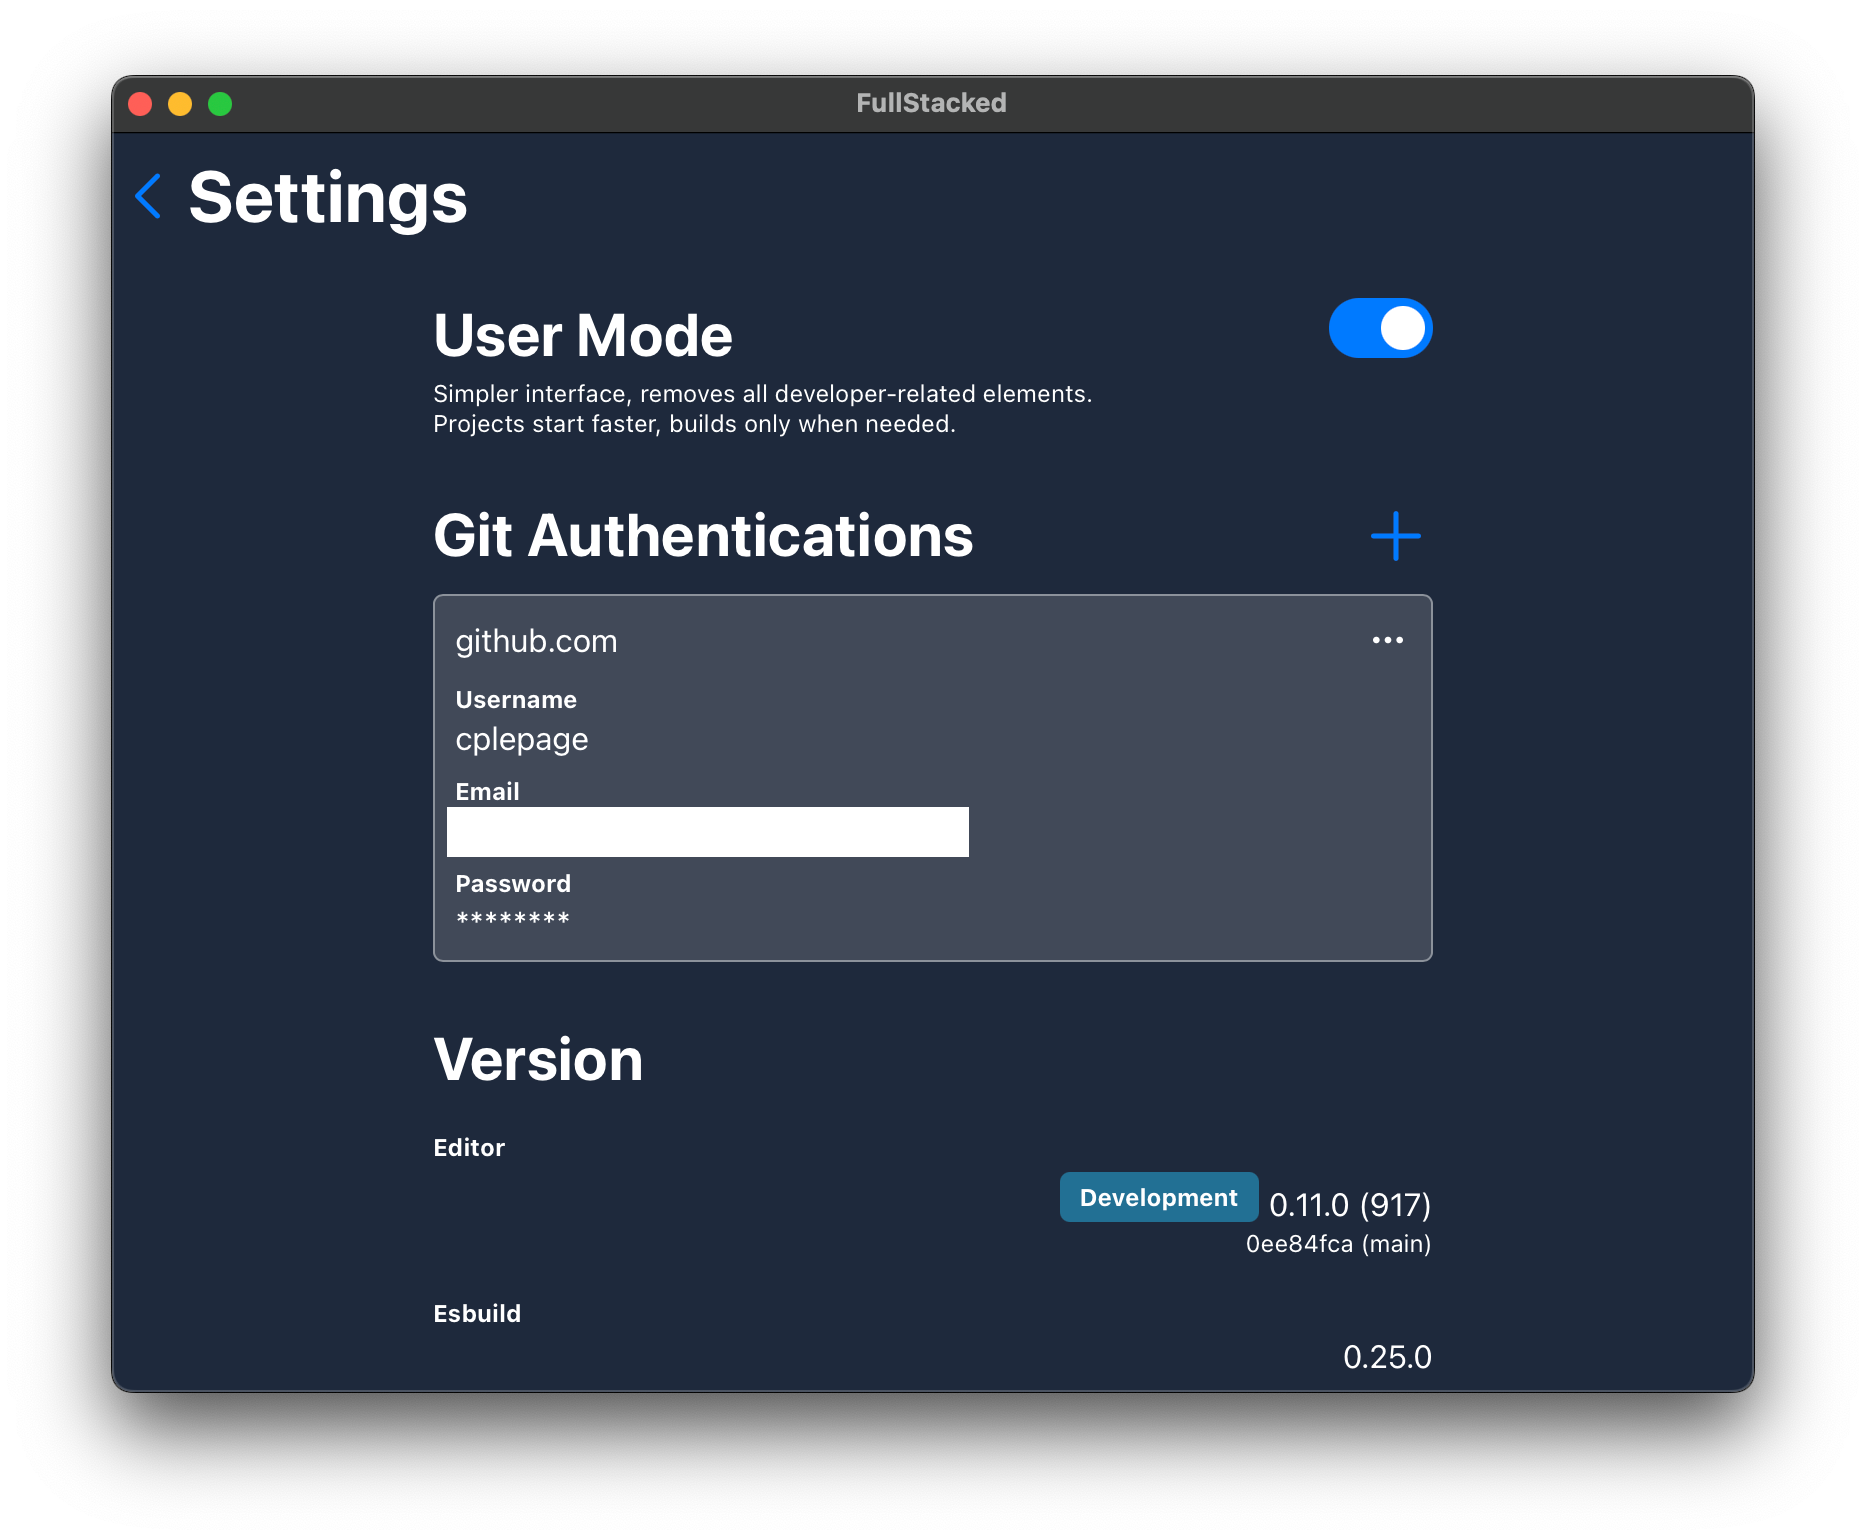
Edit, delete and create new git authentications here. Note that you cannot change passwords. For this purpose, simply delete the authentication and on the next auth required git event, it will ask you to authenticate again.
Git author
The username and email in git authentications are also used for your git commit author similarly to
git config user.name "you"
git config user.email "[email protected]"